Contents
A1.) Installation (top)
Installing the theme via Wordpress Panel
1.) Unzip the file you downloaded from themeforest.
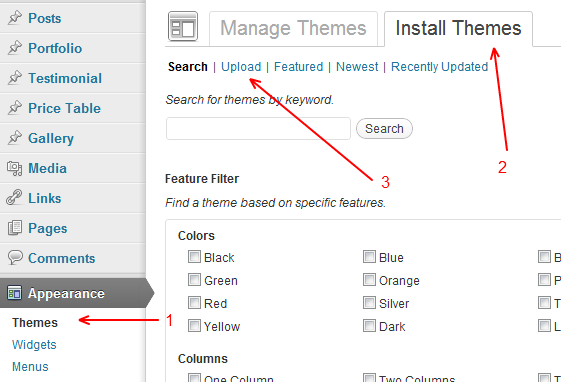
2.) Logging in to wordpress, go to Appearance > Theme tabs
3.) Upload the **** worldwide_vx-xx.zip **** file
( Do not upload whole folder you download from themeforest )
If the above solution didn't work, try installing it via ftp access instead.
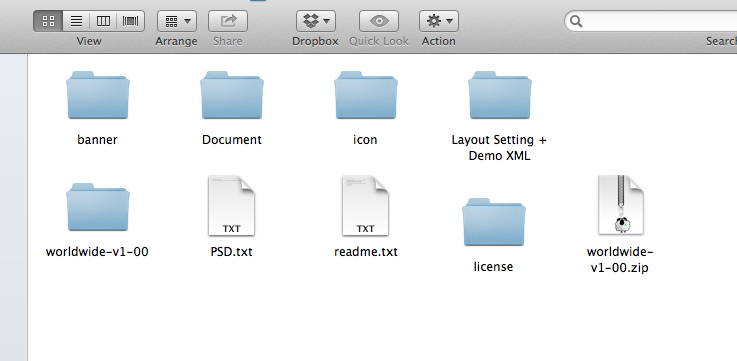
1.) Unzip the downloaded file.
2.) You will see 6-7 folders(PSD,Document,World Wide,demo......) inside.
3.) Copy folder 'World Wide' and paste in 'YOUR_DOMIAN/wp-content/themes'.
4.) Reay to go!
You can see the video tutorial of the theme installation here too
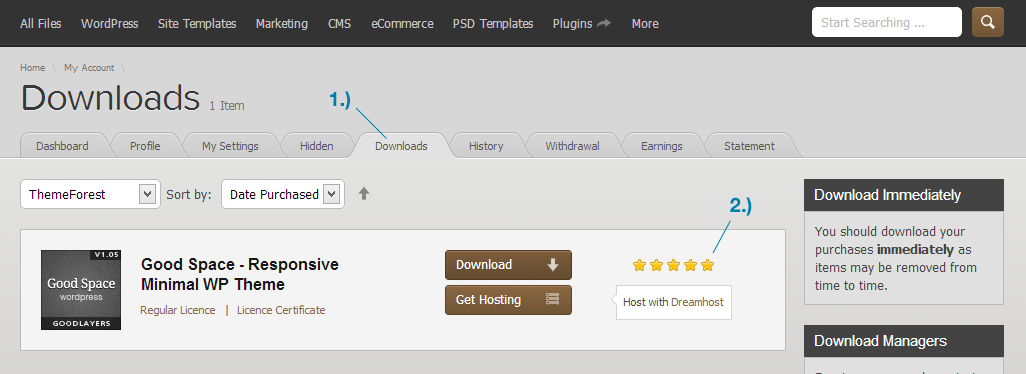
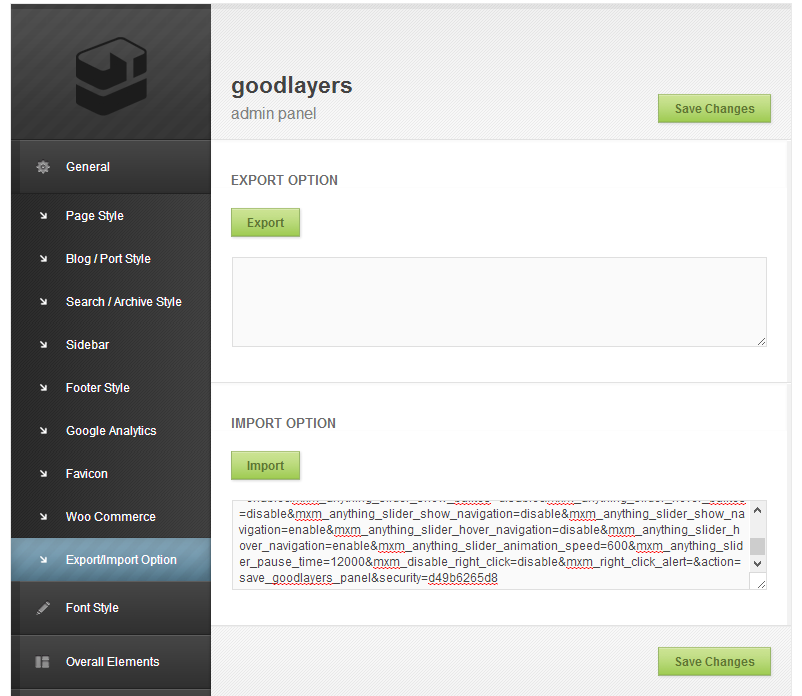
A2.) Load Demo Admin Setting (top)
1.) Unzip the file you downloaded from themeforest.
2.) Go to Demo xml folder.
3.) Open the file 'Admin-Panel-Setting.txt' and copy code in the file.
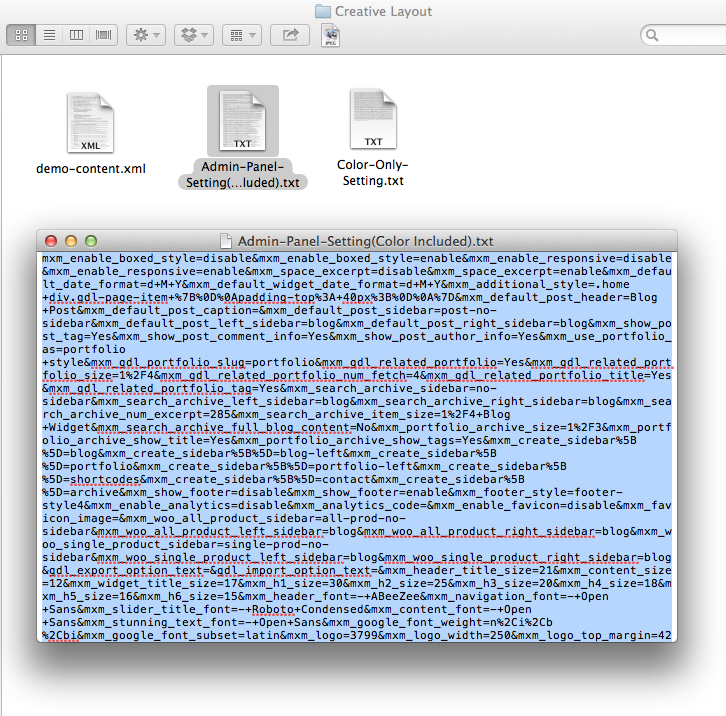
4.) At the Admin Panel > General > Export/Import Option, paste the code and click import.
You can see the video tutorial to set the theme like the demo here too
B1.) Logo (top)
1.) Go to 'World Wide admin panel'.
2.) Go to 'Overall Elements > Logo'.
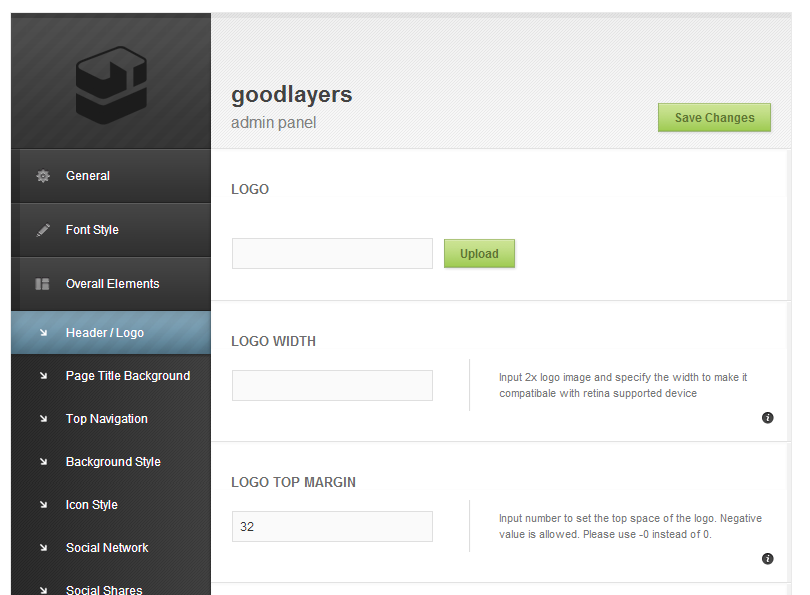
If it shows as an undefined image, please try seeing this solution.
http://support.goodlayers.com/undefined-image-when-inserting/
3.) You can set the logo margin size ( top / bottom gap of the logo ) as you want.
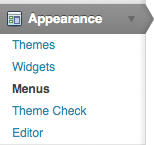
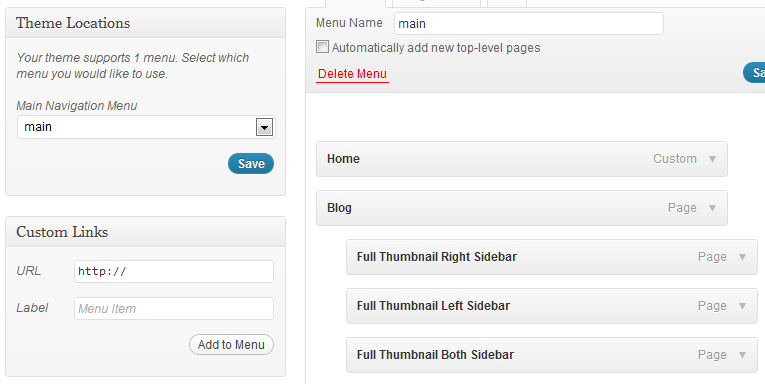
B2.) Main Navigation (top)
1.) You can manage menu by going to 'Apearance > Menu'.
2.) Type menu's name.
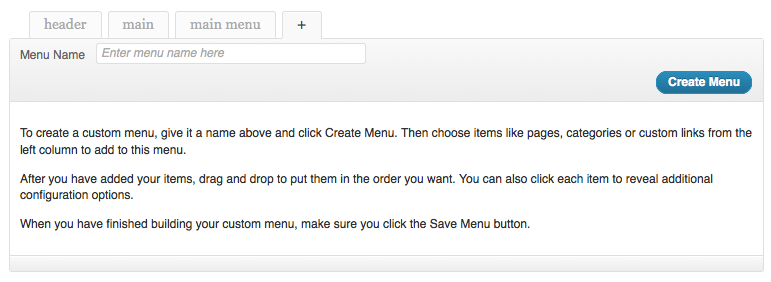
3.) Click 'Create Menu'.
4.) Assign the menu to BOTH theme location.

5.) You can generate menu item from left side and
drag the generated menu at the right side to sort it.
( Try indenting the menu to make the submenu )
6.) You have to input the html image tag directly to the navigation label section to make
the icon appear on the menu
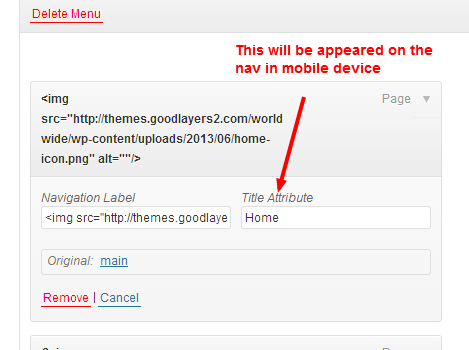
DON'T FORGET TO assign the title attribute to assign the label nav area on the mobile device too.
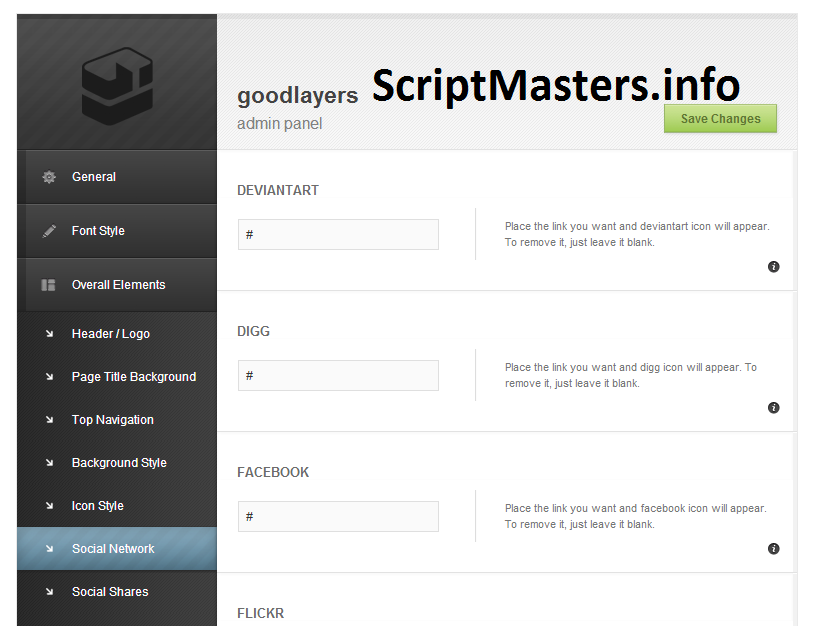
B3.) Social Links (top)
1.) You can enable or disble each
social icon
by going to 'World Wide admin panel > Overall elememnts > Social Network'.
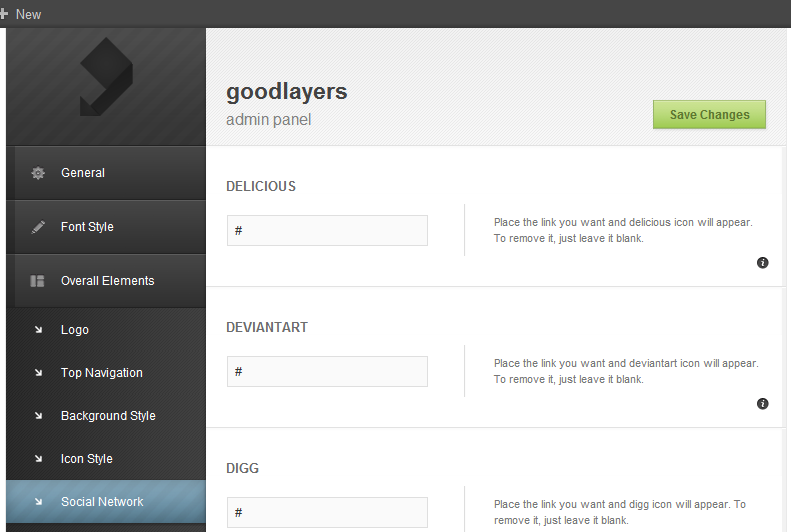
2.) Assign url to each field to enable the social icons.
3.) For mail icon, try placing mailto:support@goodlayers.com inside the input box to make it support with
your mail service. ( or else, it'll be normal link like other social icons. )
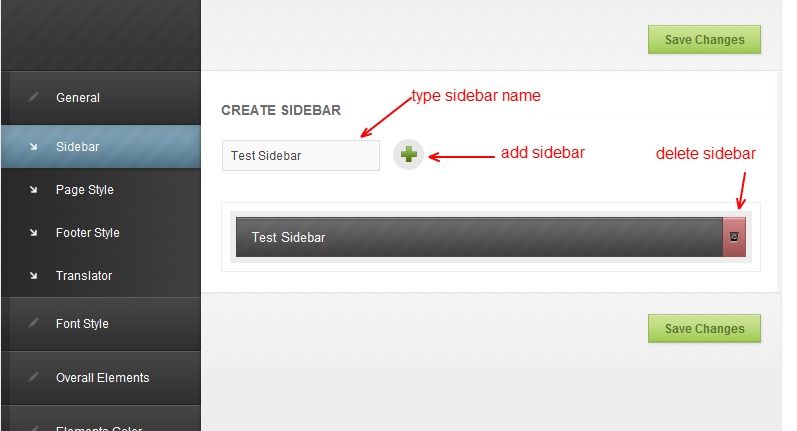
C1.) Create Sidebar (top)
There are 4 predefined sidebars include with the theme to use with footer area.
1.) To create another sidebar, goto 'World Wide admin panel > General > Sidebar'.
Type sidebar name, then click add button and save changes.
Special characters ( such as & ) are not allowed to be in the siebar name
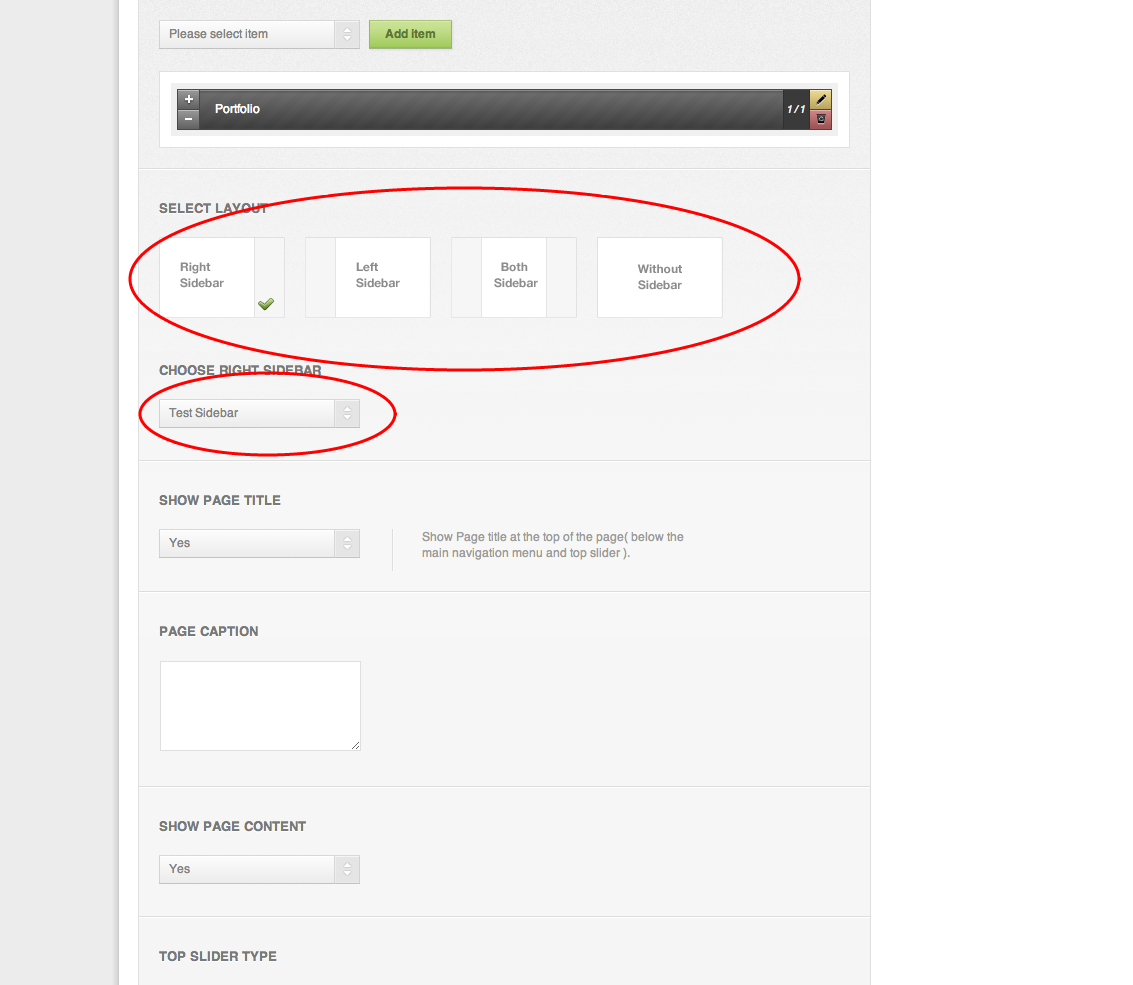
2.) Go to page or post, you will see the option for sidebar layout in post options. Select layout and lecet the side bar that you just created.
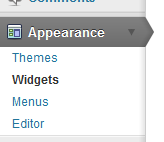
3.) Go to 'Appearance > Widget' and you'll see widget area to assign.... or read 'C2'
C2.) Sidebar Widgets (top)
1.) Go to 'Appearance > Widgets'
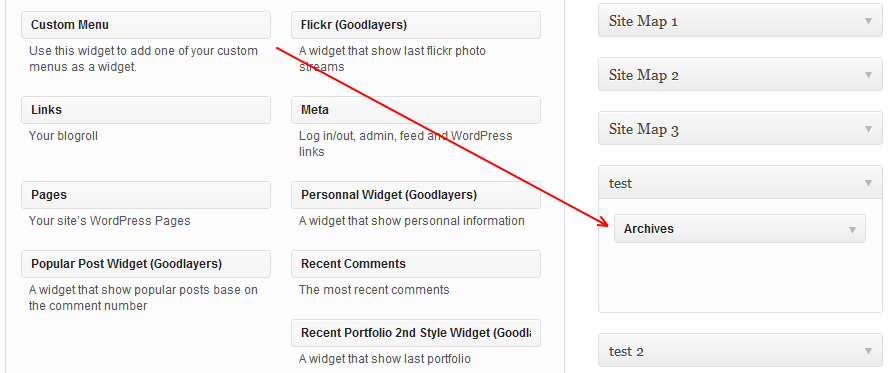
2.) The sidebar you create in above section will appear at right side of this page.
Try dragging the widget in side the sidebar box.
C3.) Set Default Posts Sidebar (top)
1.) Go to 'Admin Panel > General > Blog/Port Style'
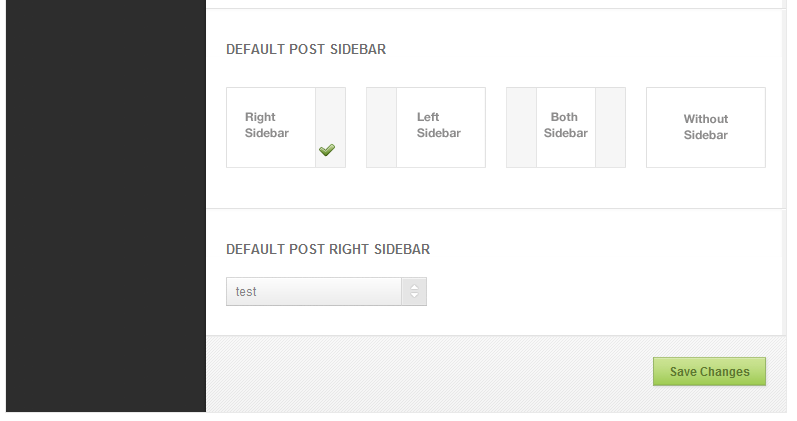
2.) Set the default sidebar style and assign the sidebar you want.
3.) If you modify any posts, the default sidebar will be overwritten with the value you assign in
post option. ( That means after update the post, the default sidebar option will be ignored. )
D1.) Footer (top)
1.) Go to 'World Wide Admin Panel > General > Footer Style' and choose footer style you want.
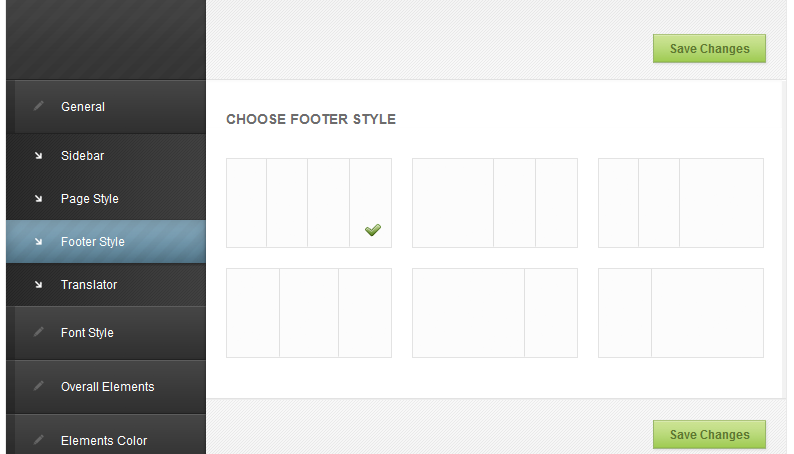
2.) Go to 'Appearance > Widgets'. You'll see footer widgets area on the right
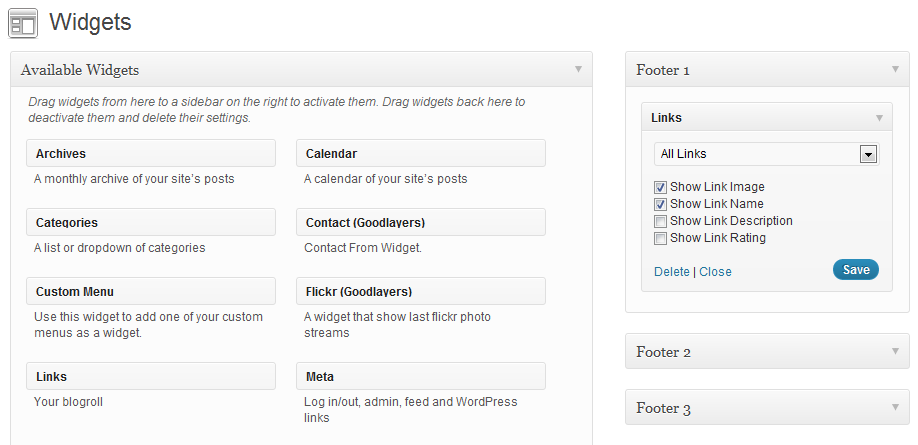
3.) Drag item from the left side to 'Footer widget area'. Remember that if you choose 3 column
footer style, only 3 footer is required to set, another one will be ignored.
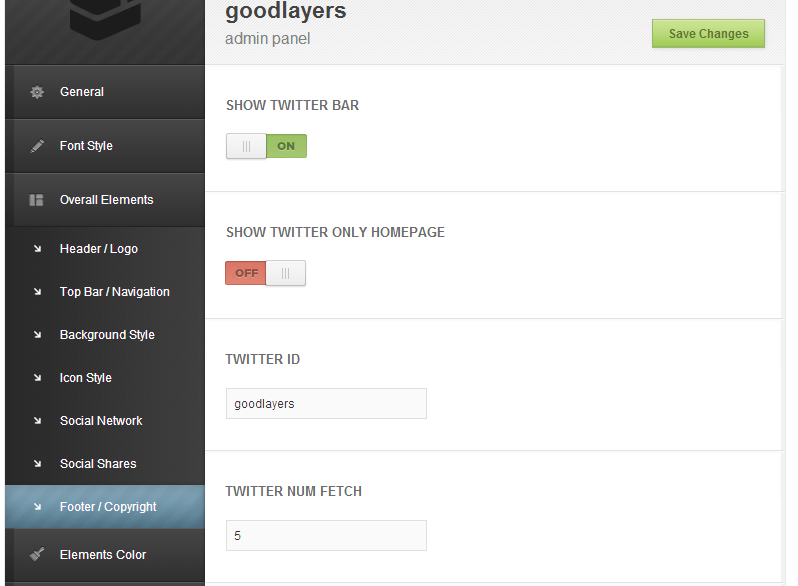
D2.) Footer Top Twitter (top)
1.) Go to 'World Wide Admin Panel > Overall Elements > Footer / Copyright'
D3.) Copyright (top)
1.) Go to 'World Wide Admin Panel > Overall Elements > Footer / Copyright Area'
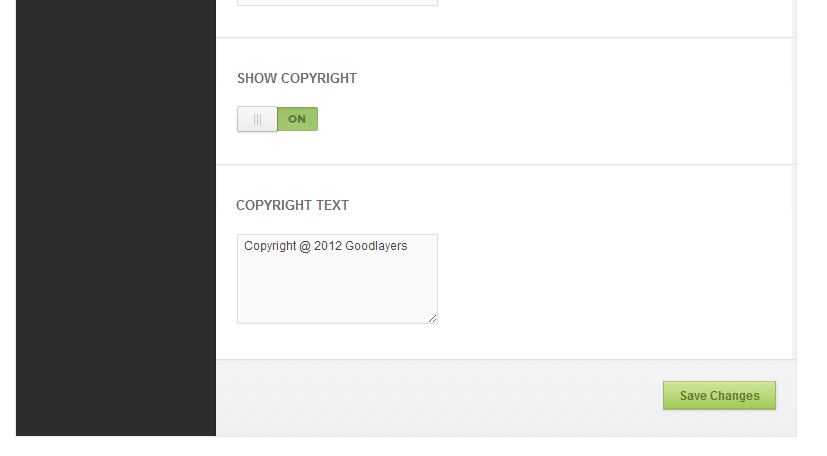
2.) Fill what you want.
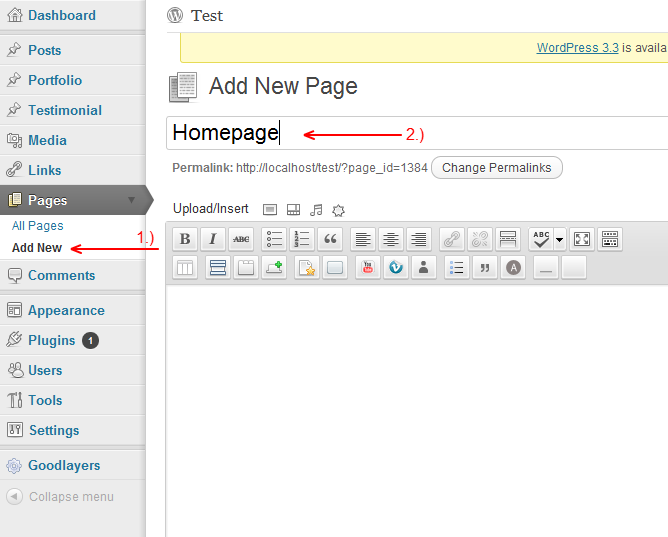
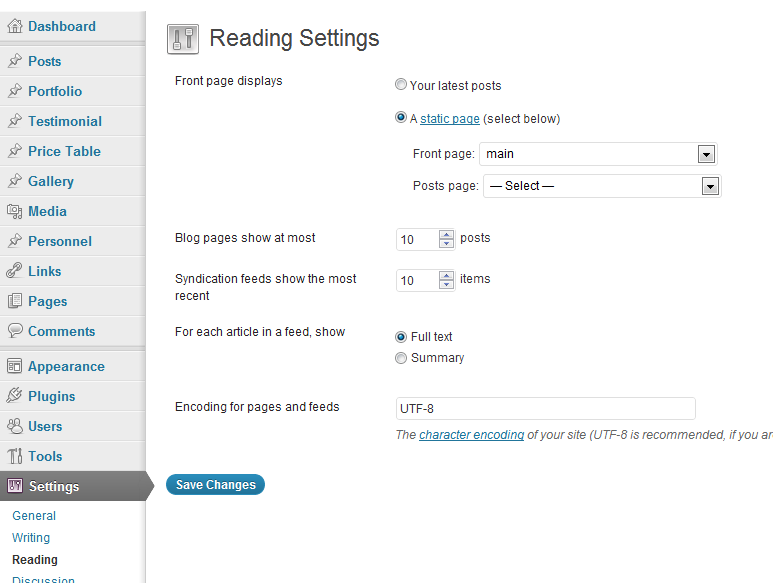
E1.) Create Home Page (top)
1.) Create new page and named it as Home Page or anything you want.
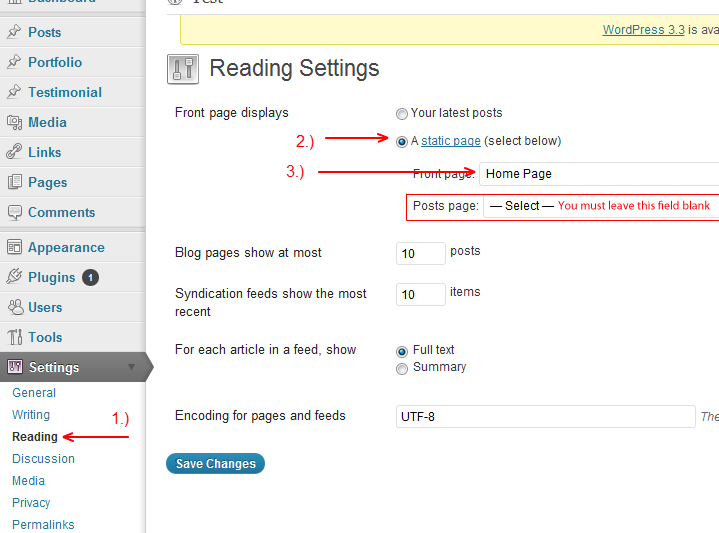
2.) Go to 'Settings > Reading' and choose a static page as front page.
*** You must leave the post page field blank or else it would mess up the page you select***
E2.) Page Title and Content (top)
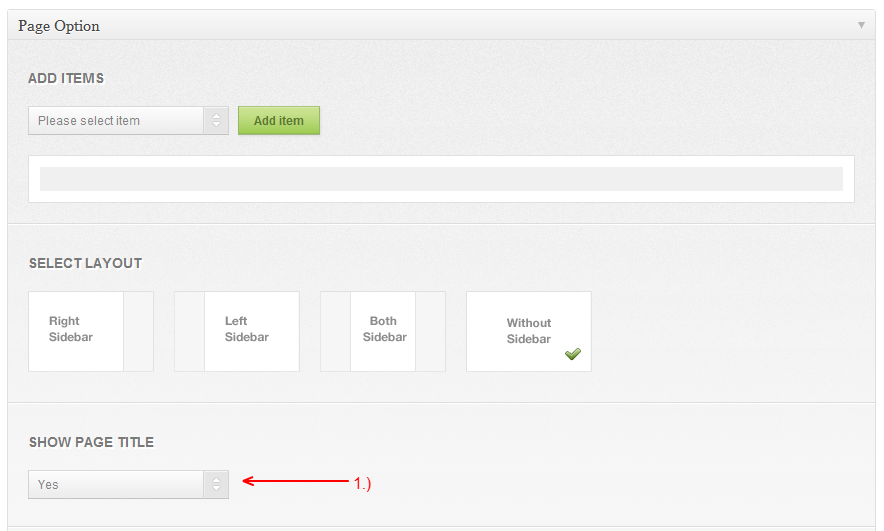
1.) Page Title and Content can be added at Edit Page.
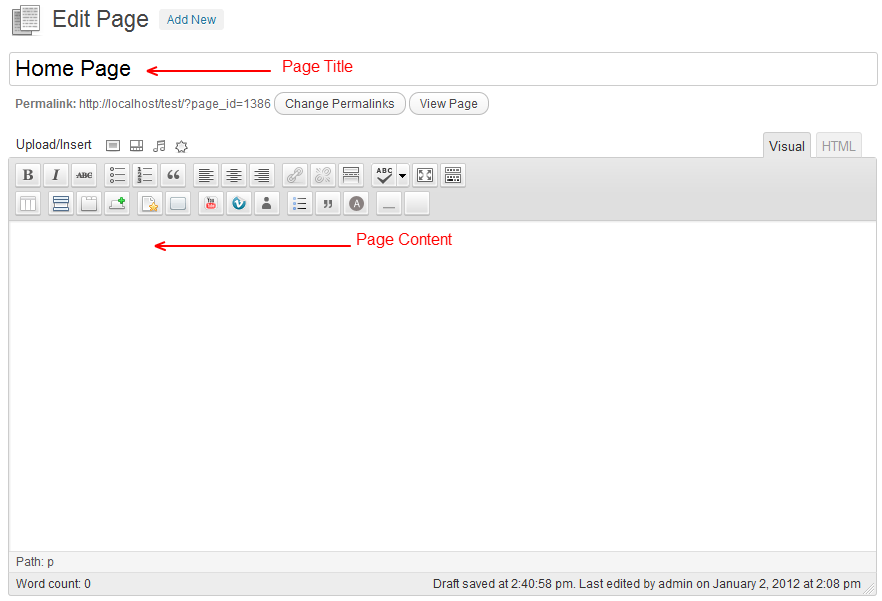
2.) You can choose to hide the page title ( and content ) at "Page Option".
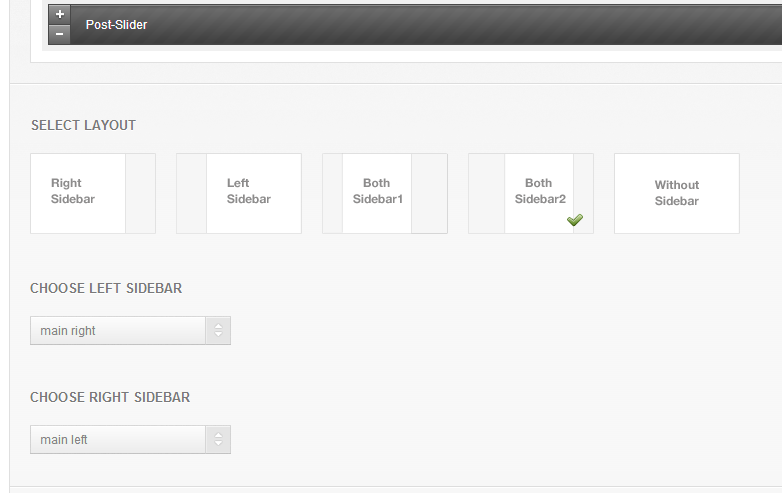
E3.) Page Sidebar (top)
1.) To choose sidebar, go to select layout section of 'Page Option'. Then choose any sidebar
you want. To create new sidebar, follow this tutorial.
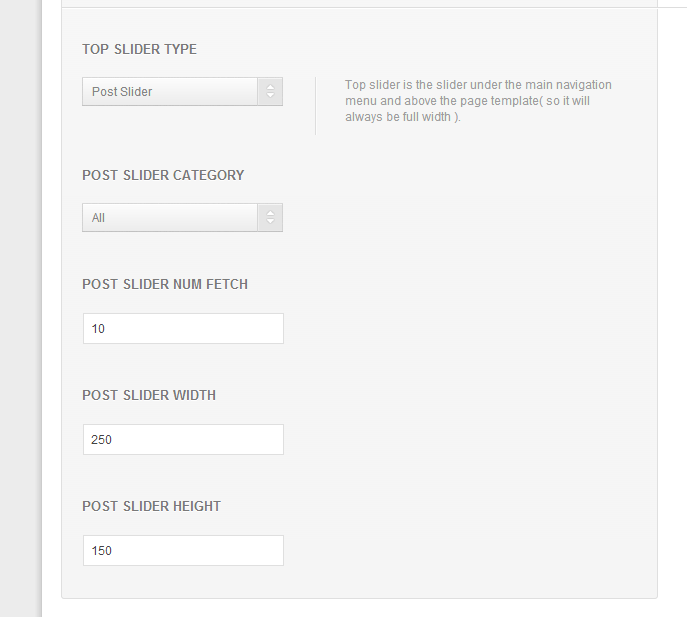
E4.) Page Top Slider (top)
1.) Page Top Slider will show full width slider above the page content and page sidebar, so it'will always be full width.
You can create it at the bottom of 'Page Option'. To learn more about creating a normal slider, follow this tutorial.
2.) Selecting the Top Slider to 'Post Slider' will fetch the posts out in a carousel slider format.
E5.) Page Item (top)
1.) Page Item is a item that we provide for the page. Currently, we have up to 18 items.
You can add all these item to page by use the Add Item section in "Page Options".
You can choose item at 'Item list'. When you add item, it will appear at the item container.

2.) You can edit, delete, increase size and decrease size of each item by use these following
button. ( each item has different size depends on its functional )
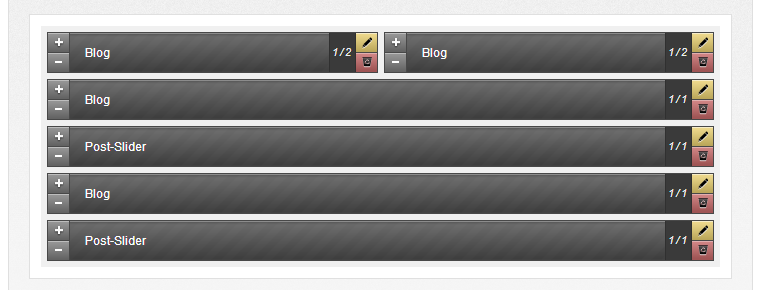
3.) There are 5 page items that have inner size, blog, page, portfolio, testimonial and personnal item.
The inner size is the actual size of item. The item size will be the wrapper
( The inner size is relatived with the size of the wrapper ).
4.) You can learn more about each page item at this tutorial.
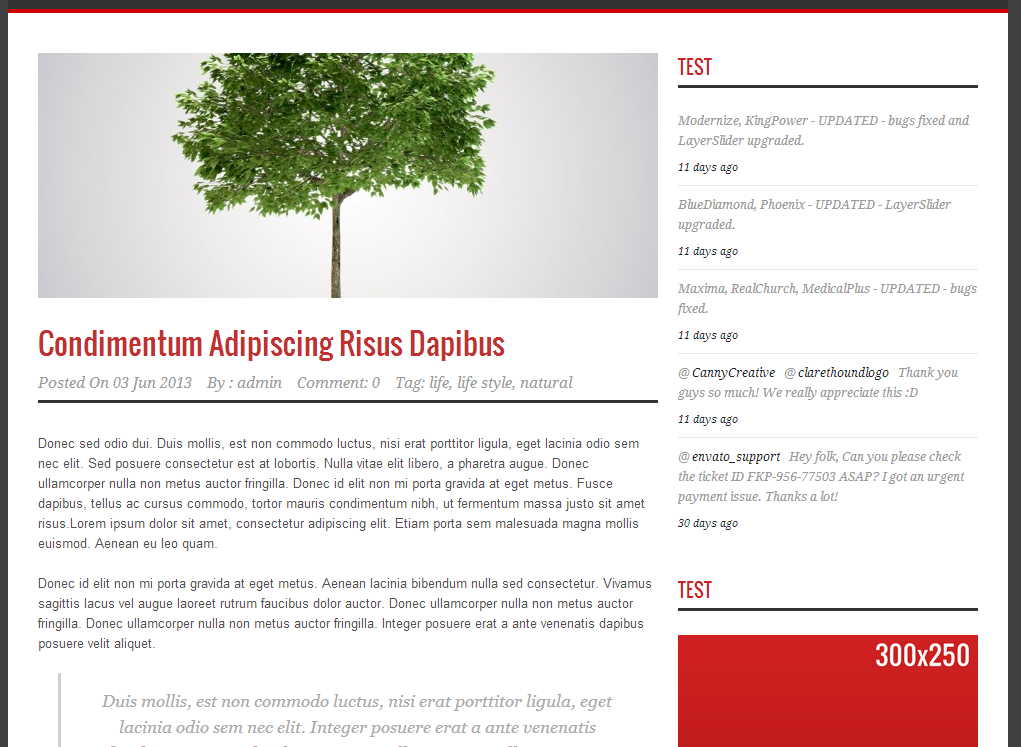
E6.) Create Blog Page (top)
1.) Create a new post, assign it to category(if you don't have category, just create a new one.)
2.) Create a new page, add page item 'blog' in page builder section.
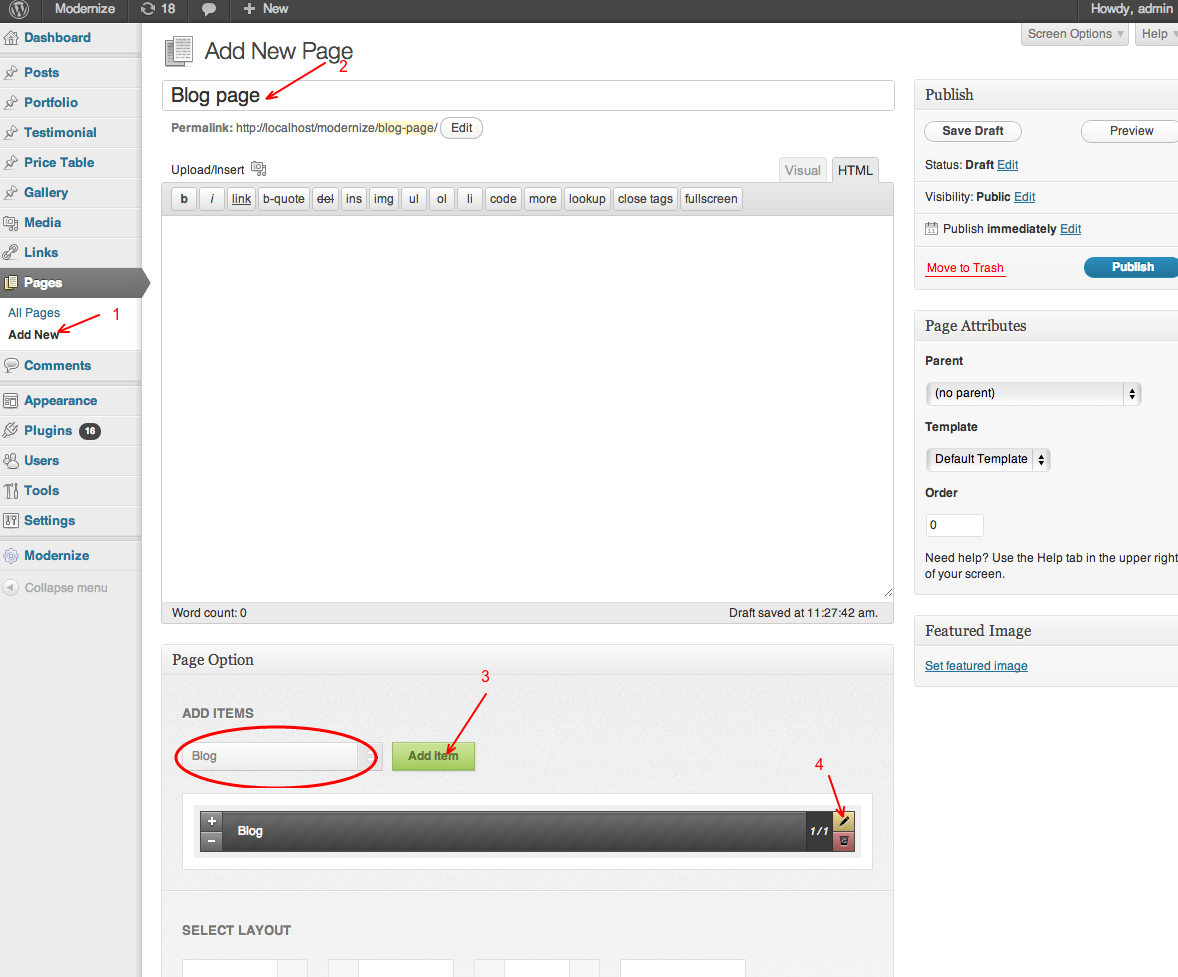
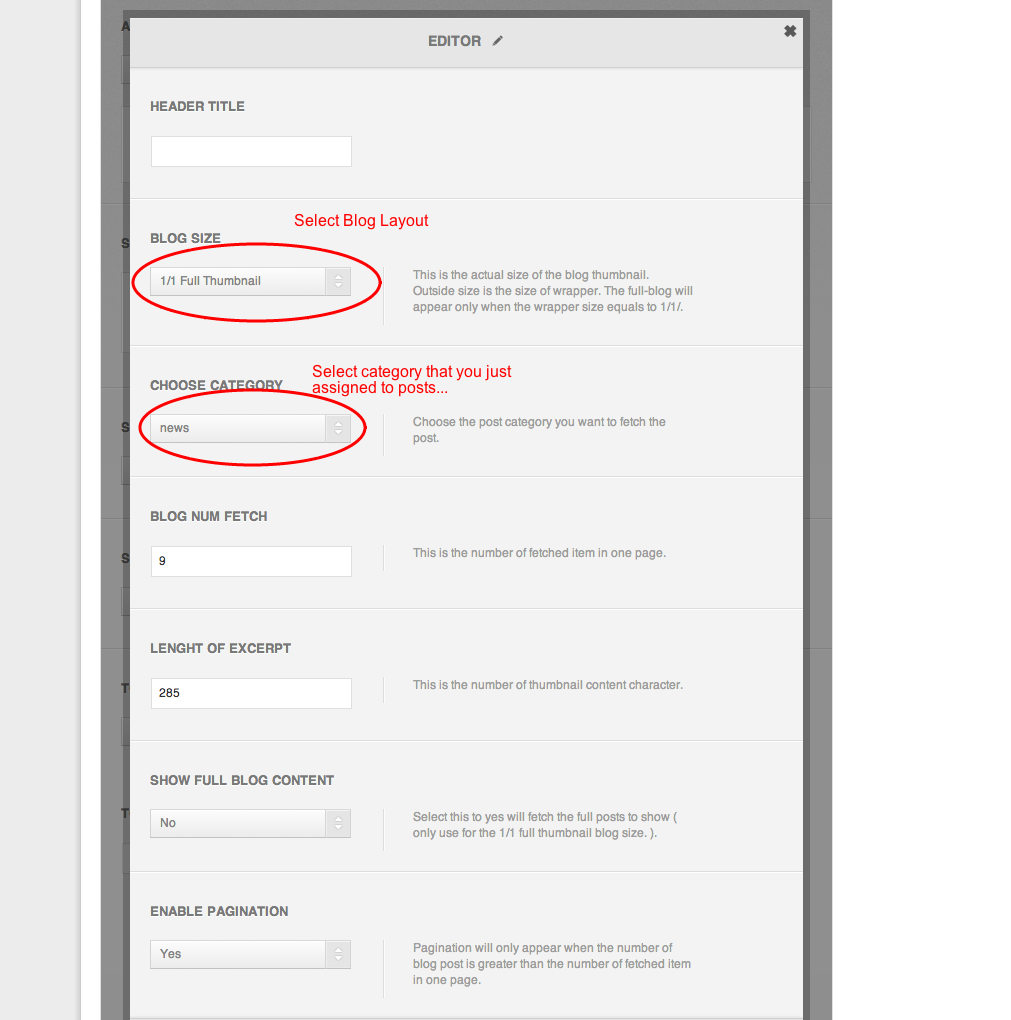
3.) Click on the yellow editor button (4). Choose blog layout and select category that you just created. Click 'done' and publish the page.
E7.) Create Portfolio Page (top)
1.) Create a new portfolio post, assign it to category(if you don't have category, just create a new one.)
2.) Create a new page, add page item 'portfolio' in page builder section.
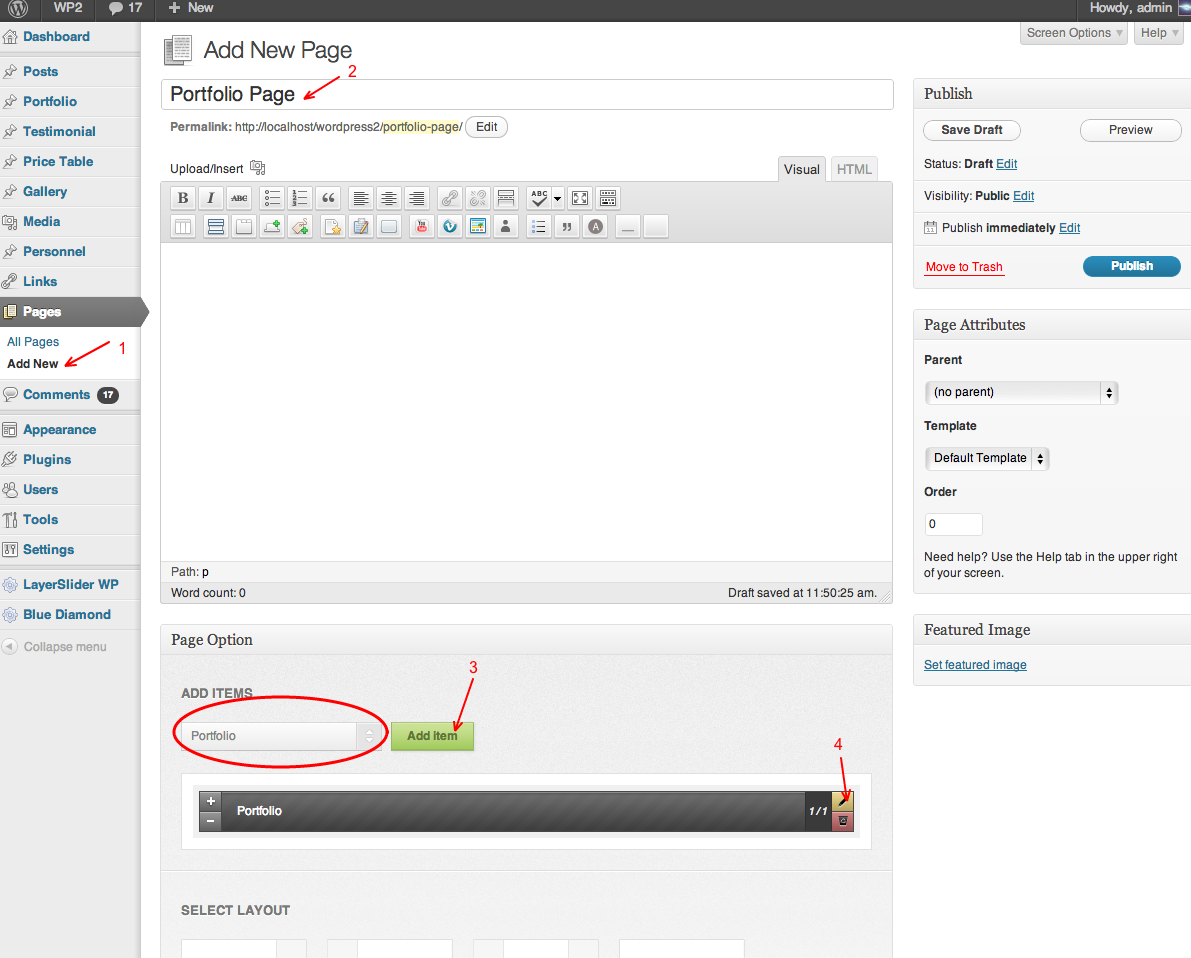
3.) Click on the yellow editor button (4). Choose blog layout and select category that you just created. Click 'done' and publish the page.
F1.) Accordion (top)
1.) After create the accordion item and click edit item, the following
options will be shown.

2.) After you finish customizing, save the page and you will get accordion as below.

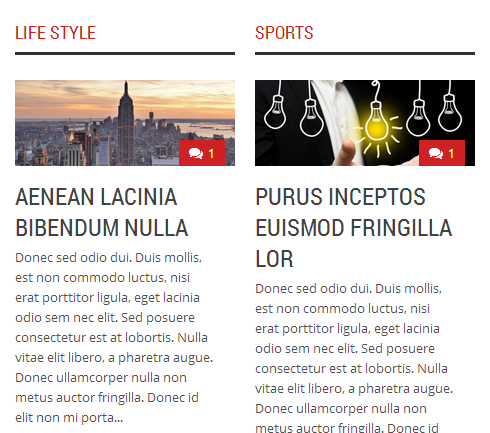
F2.) Blog (top)
1.) After create the blog item and click edit item, the following
options will be shown.
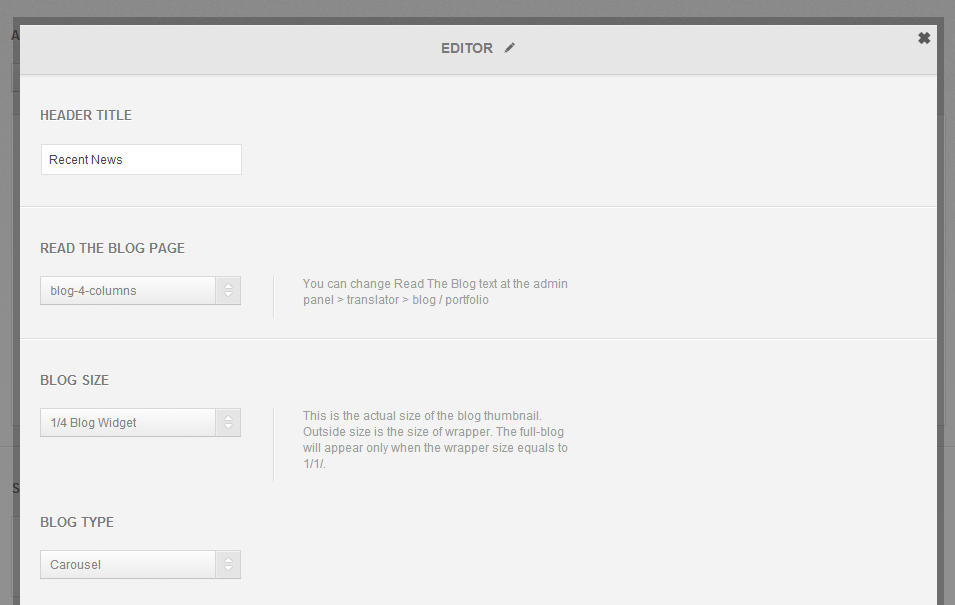
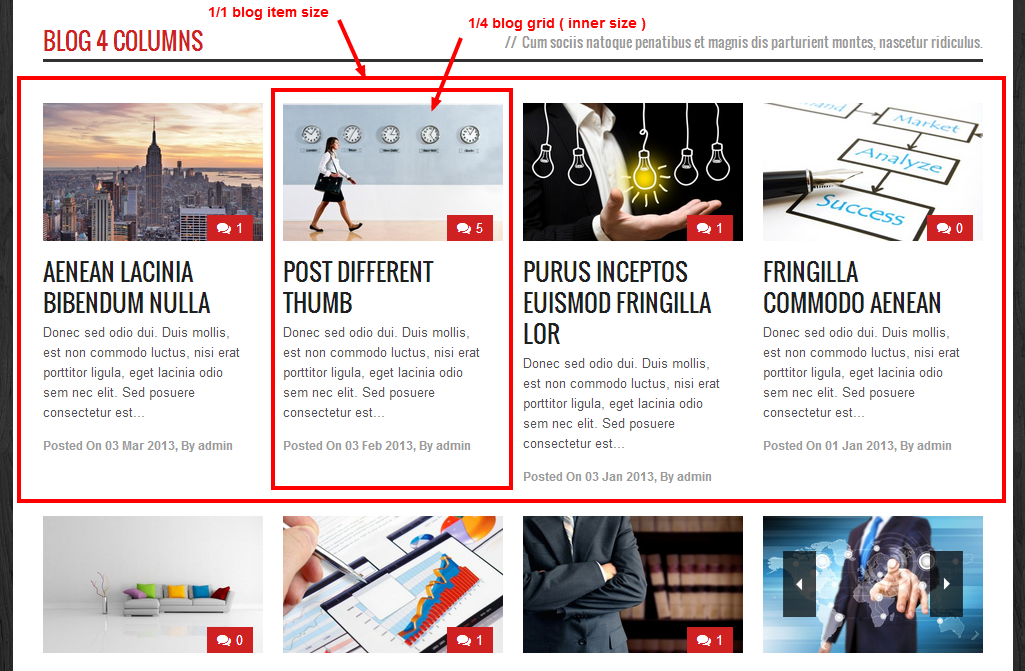
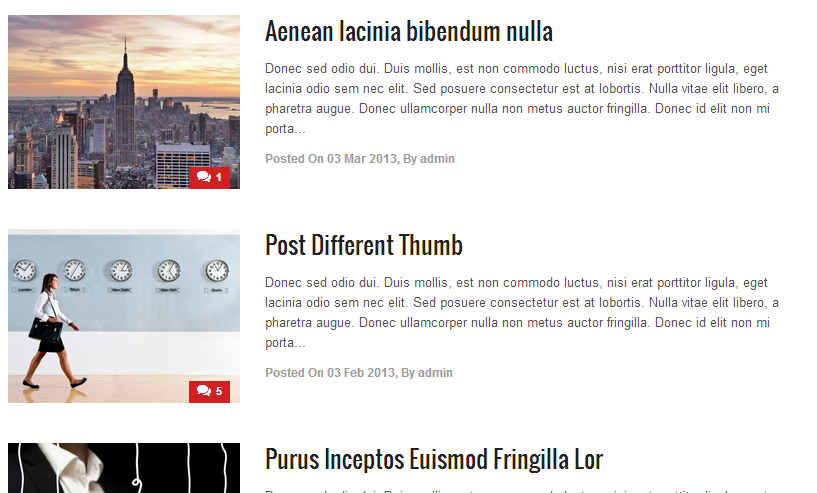
2.) Blog item have 4 different style, that is widget-style, 1/1 full size, and 1/1 medium size
You can Learn more about blog size here.
Blog Grid
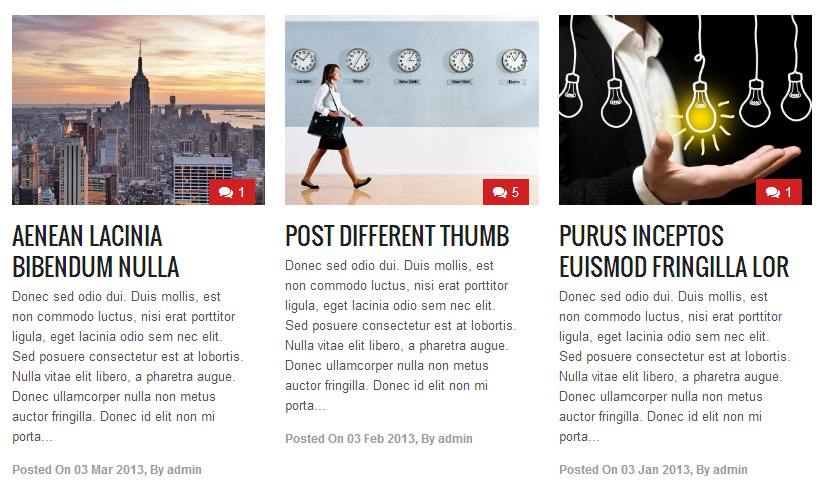
Blog List
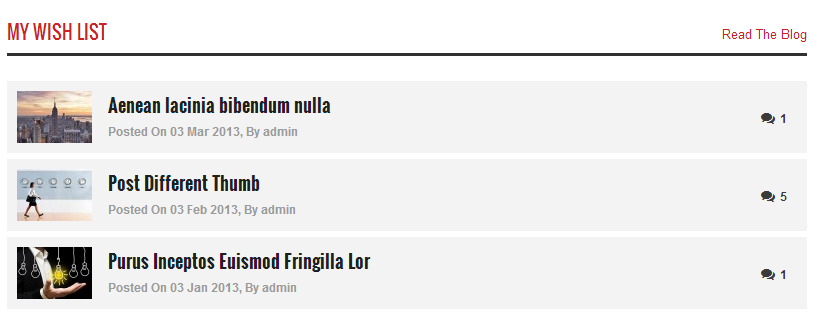
Blog Grid List
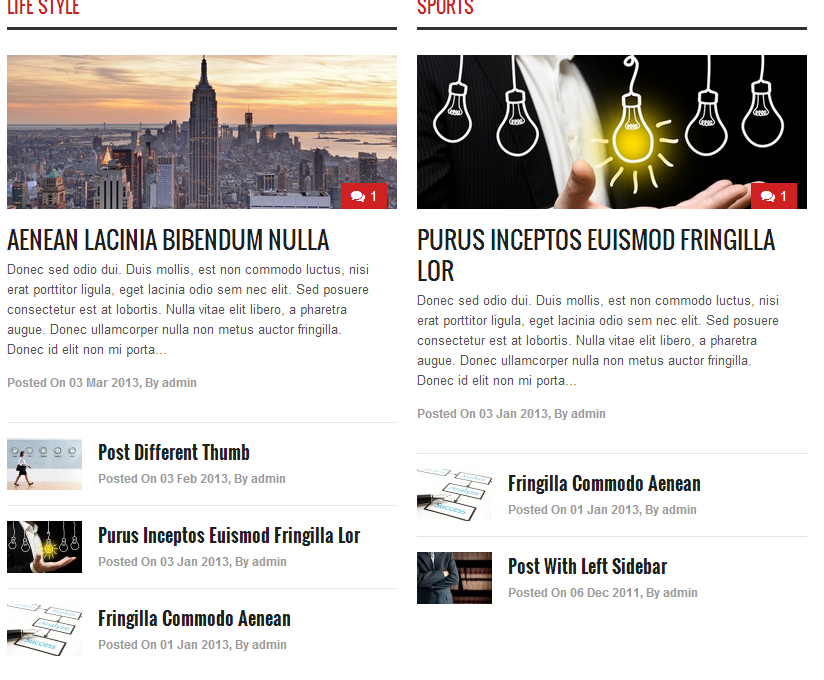
1/1 Medium Thumbnail
F3.) Contact Form (top)
The Contact Form has only full size.
1.) After create the contact form item and click edit item, you will
see the email address field.
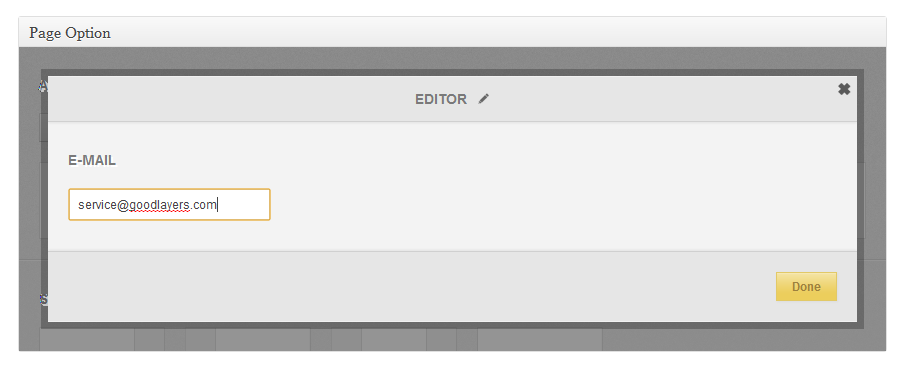
2.) Fill your email address, save the page and you will get contact form as below.

F4.) Column (top)
Column will create a frame for you to write a content. You can add short code or anything you want to be display. You can create the column item from above tutorial.
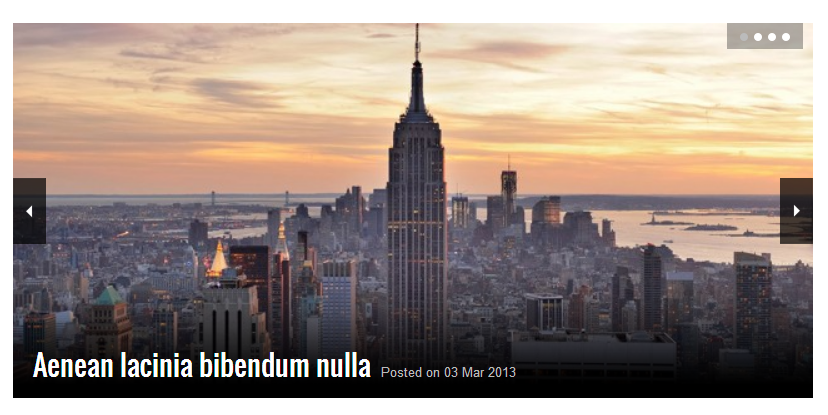
F5.) Post-Slider Item (top)
This item will act exactly like the slider item, but it'll fetch the image from the post instead ( Please make sure
to assign feature image to all posts that will be fetched up too. ).
Carousel Slider
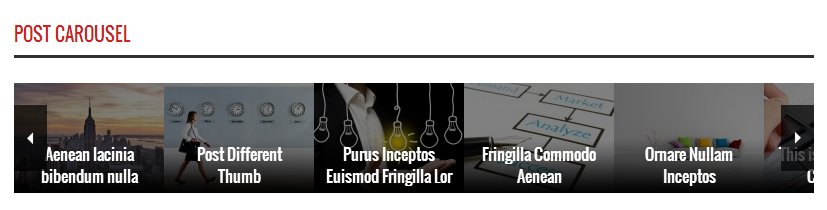
Normal Slider ( FLEX/NIVO )
F6.) Divider (top)
1.) After create the divider item and click edit item, you will
see a back to top text. This text will scroll you to top of the page. If you don't
want it, just leave it blank.
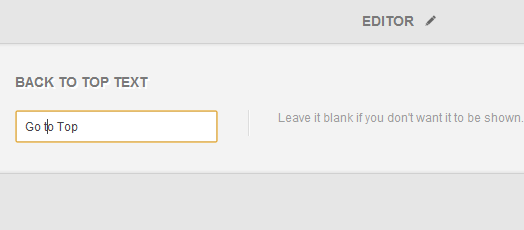
2.) Save the page and you will get the divider as below.

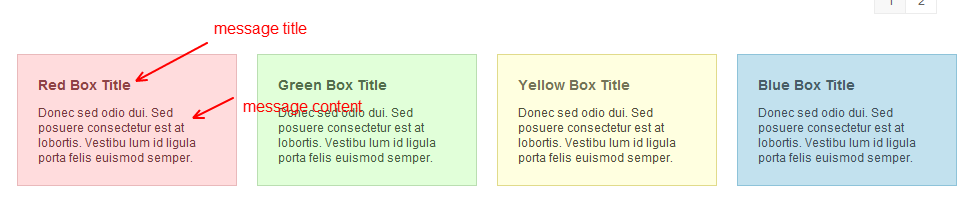
F7.) Message Box (top)
1.) After create the message box item and click edit item, the following
options will be shown.
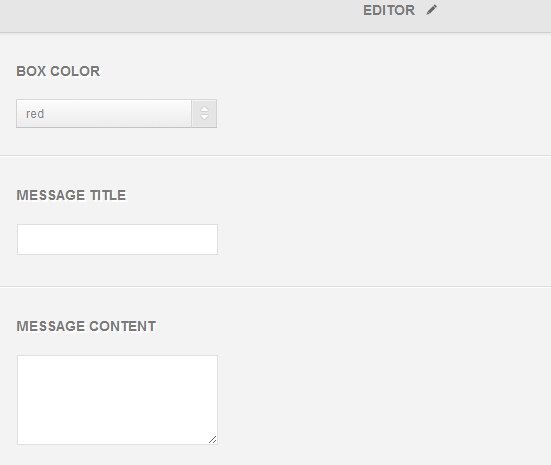
2.) Fill All fields, save the page and you will get message box as below.
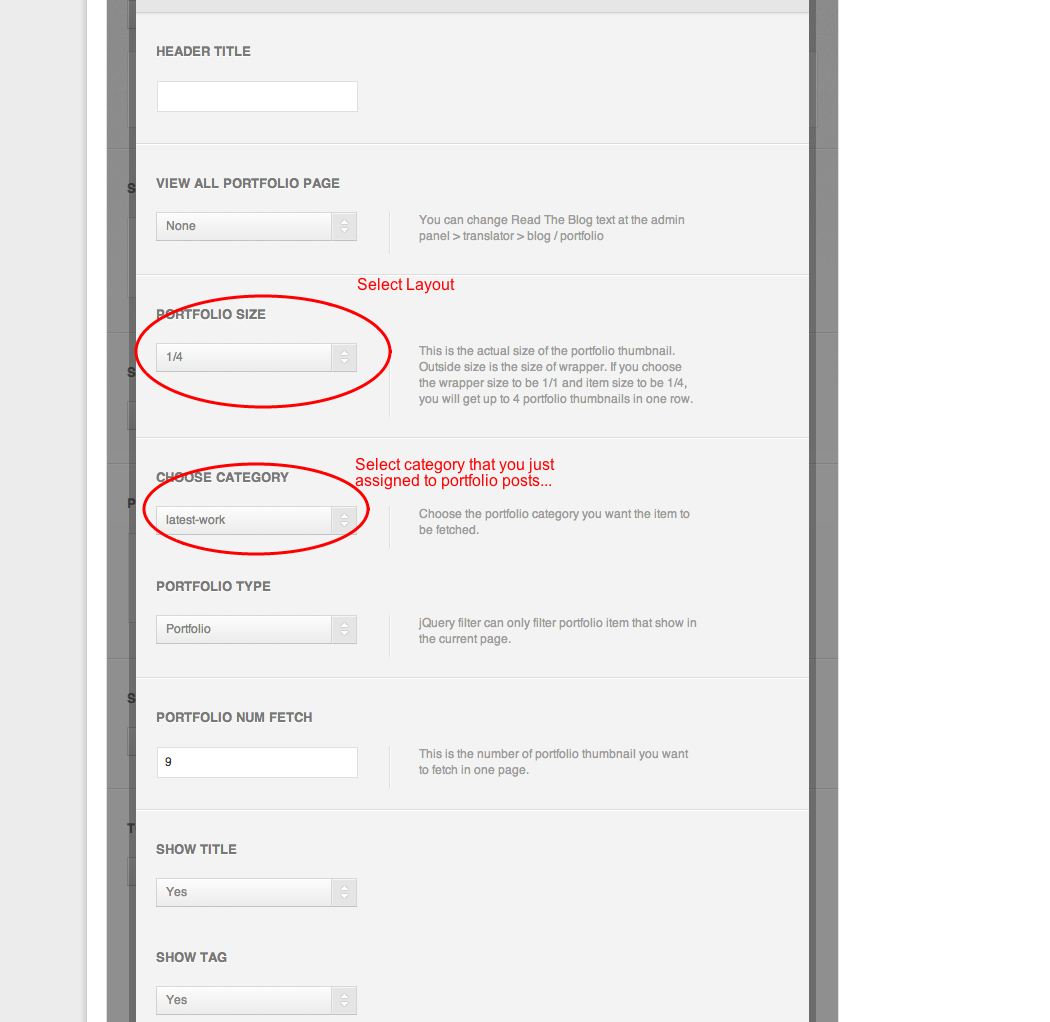
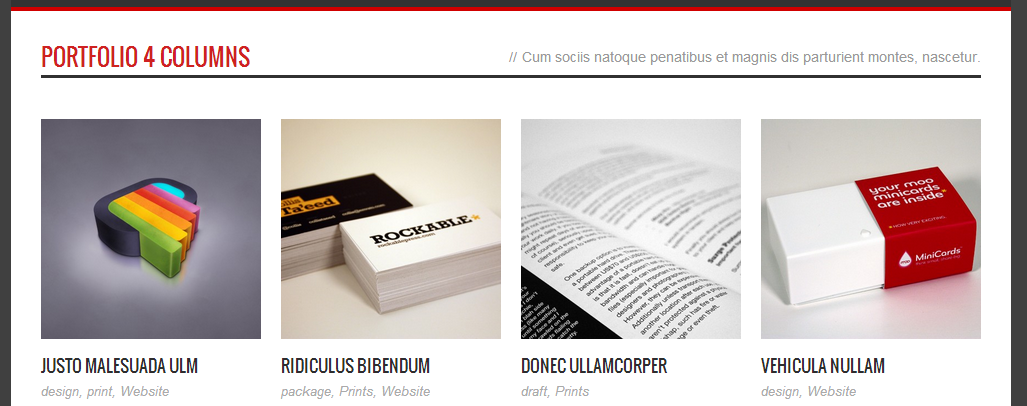
F8.) Portfolio (top)
1.) After create the portfolio item and click edit item, the following
options will be shown.
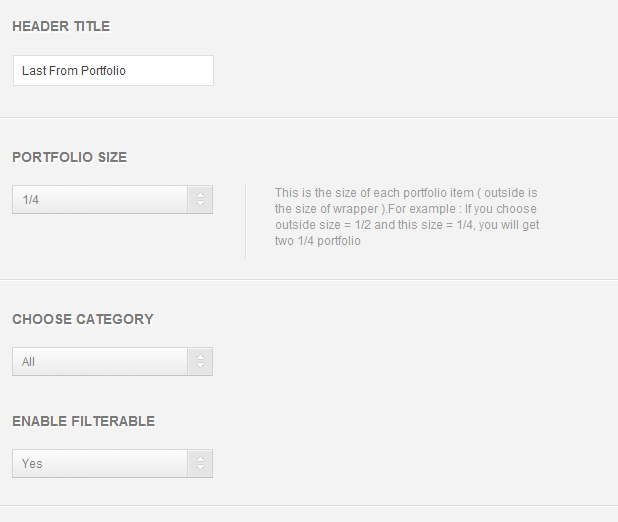
2.) Fill All fields, save the page and you will get portfolio item as below.
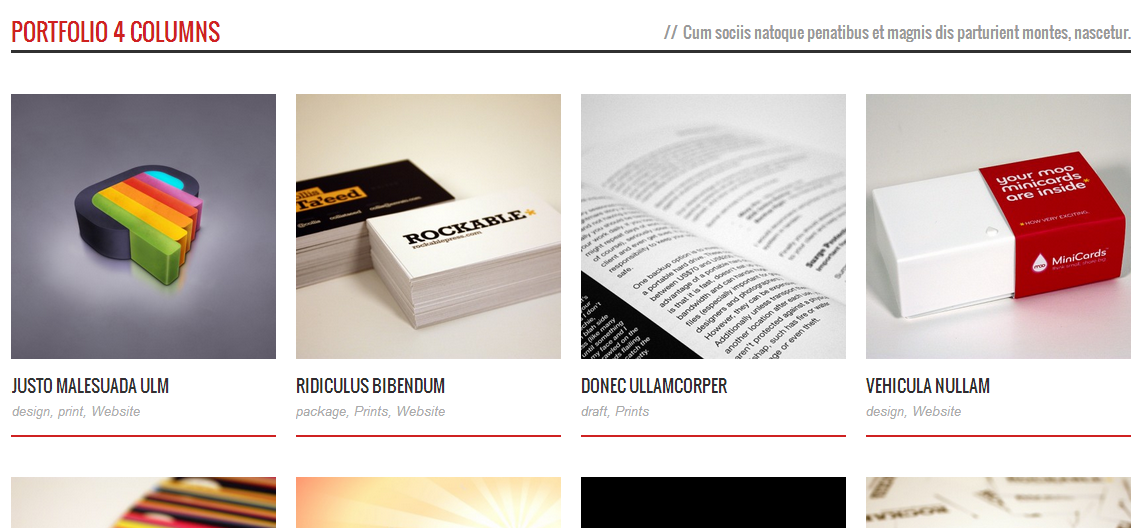
3.) You can see more about portfolio style at our demo site too.
F9.) Slider (top)
1.) After create the slider item and click edit item, you will see the slider option. Follow this tutorial to learn how to edit the slider option.
F10.) Stunning Text (top)
1.) After create the stunning text item and click edit item, the following
options will be shown.
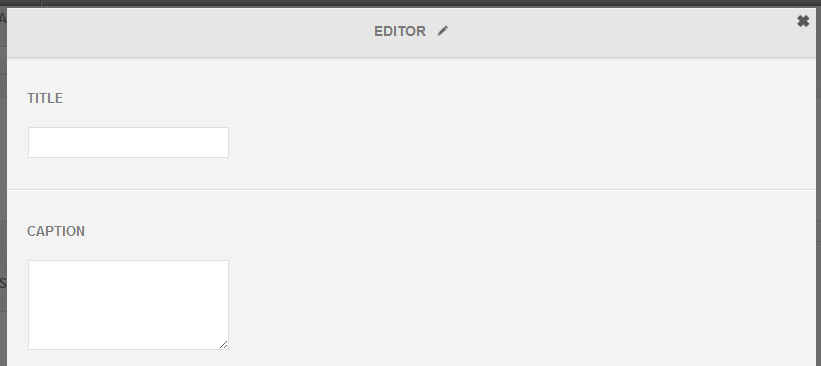
2.) Fill All fields, save the page and you will get stunning text item as below.

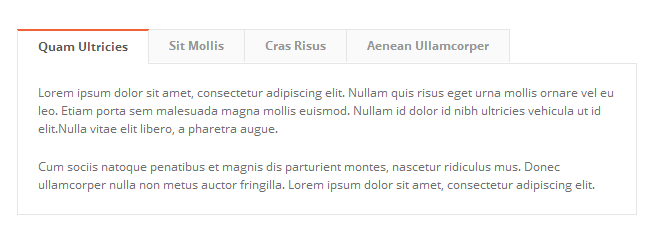
F11.) Tabs (top)
1.) After create the tab item and click edit item, the following
options will be shown.
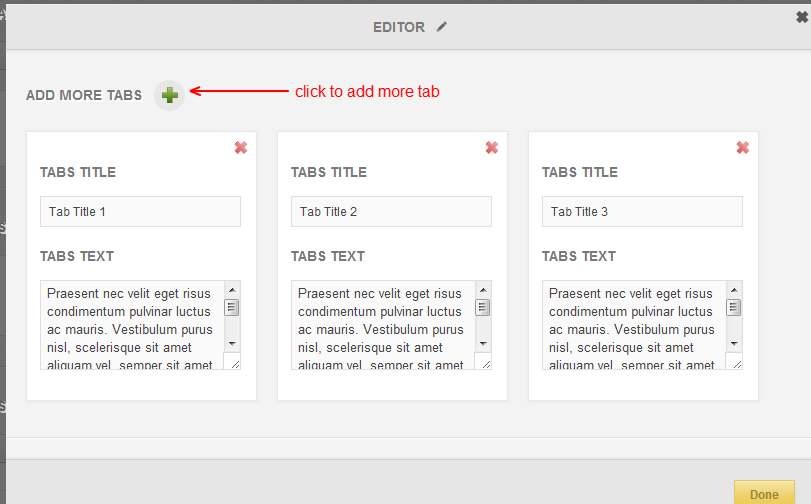
2.) Fill All fields, save the page and you will get tab item as below.
F12.) Testimonial (top)
1.) After create the testimonial item and click edit item, the following
options will be shown. Testimonial can be displayed in 2 types. A single testimonial
and a category of testimonial.
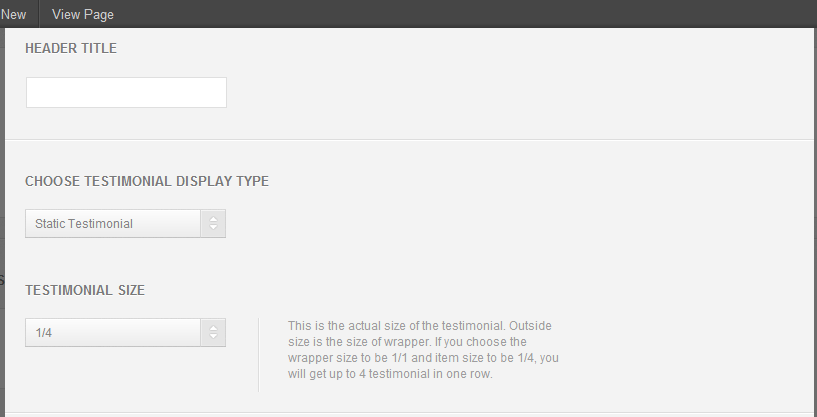
2.) Fill All fields, save the page and you will get testimonial as below.
Carousel Testimonial
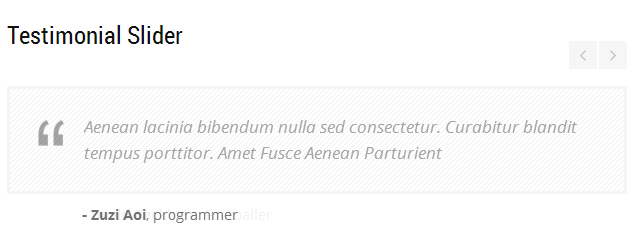
Static Testimonial

F13.) Toggle Box (top)
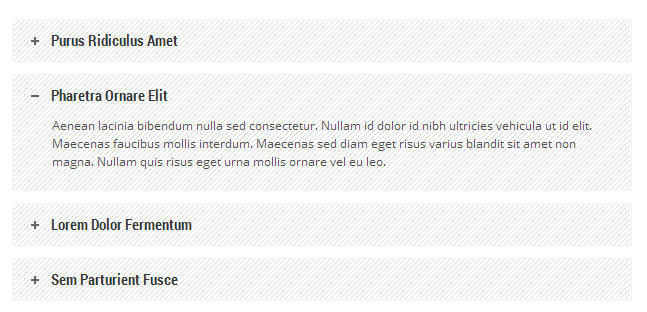
1.) After create the toggle box item and click edit item, the following
options will be shown.
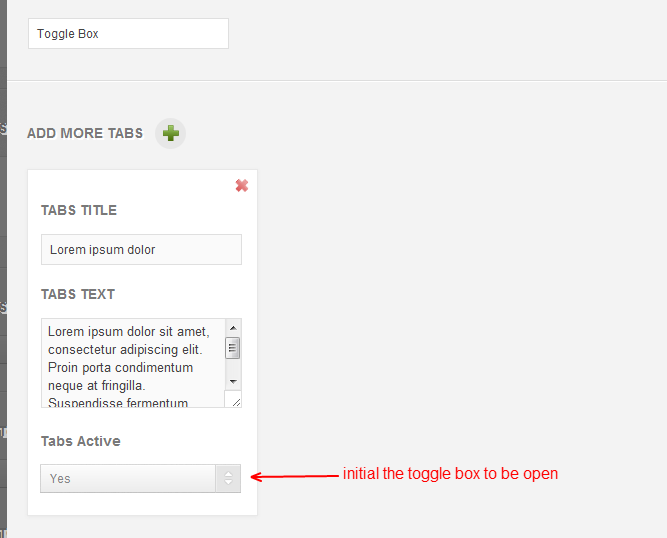
2.) Fill All fields, save the page and you will get toggle box item as below.
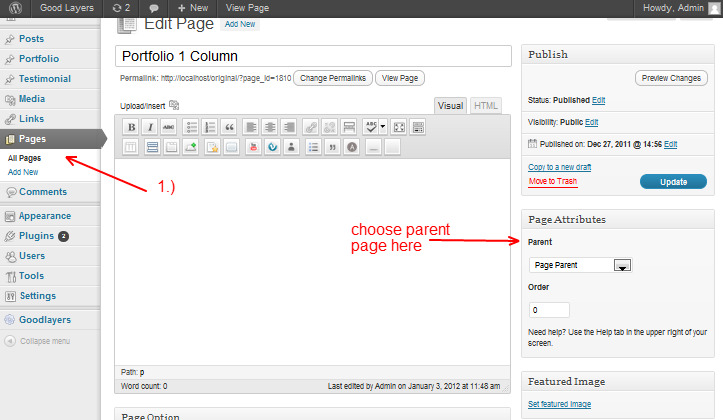
F14.) Multi-level Page (top)
1.) After create page item, you have to save the page and
assign its children.
2.) You can assign the children page by go to edit page of that children page.
3.) The page item functional is same as portfolio except it will get its children page
instead of the portfolio category.
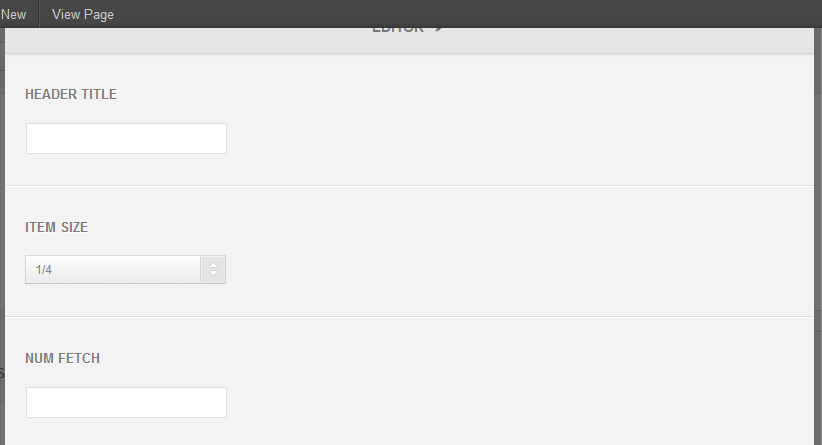
F15.) Price Item (top)
1.) After create price item and click edit item, the following
options will be shown.
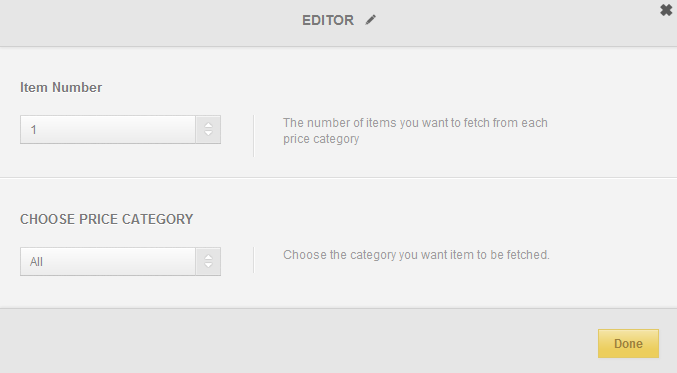
2.) The item number is the number of price item you want to show from specific category.
F16.) Gallery (top)
1.) After create gallery item and click edit item, the following
options will be shown.
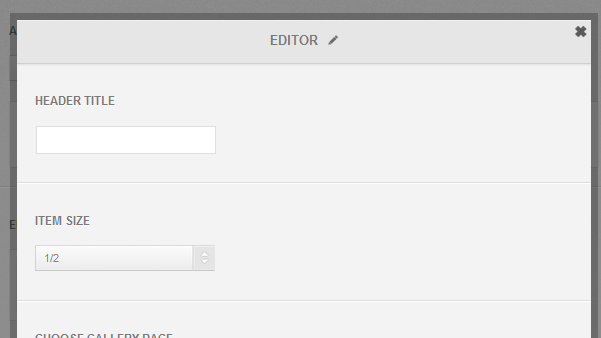
2.) Select the gallery you made and see what you get.
F17.) Content Item (top)
This item will get the content in the editor(wordpress visual/html editor) to show as a page item. Don't forget to hide the page content in page options, otherwise there will be a duplicated content in the page.
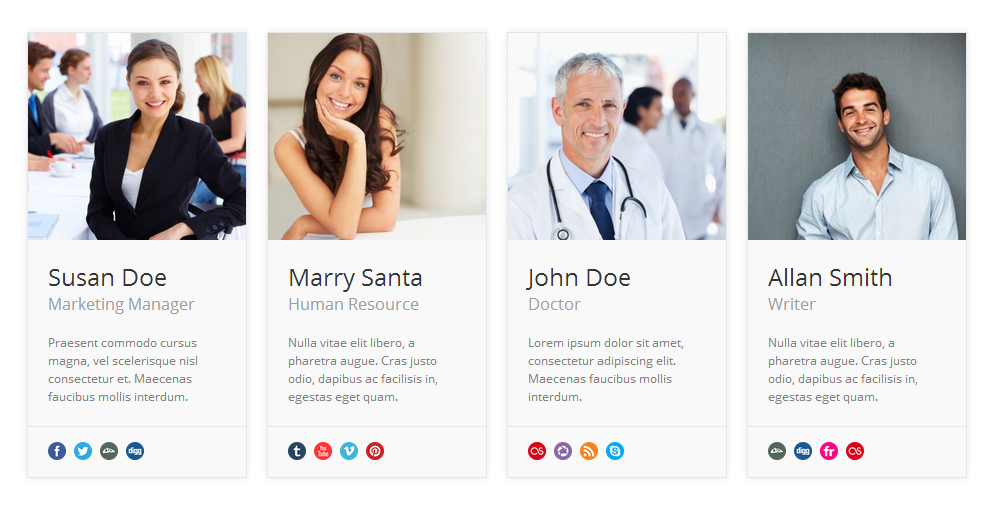
F18.) Personnel (top)
1.) After create personnel item and click edit item, the following
options will be shown.
2.) Select the personnel category you made and see what you get.
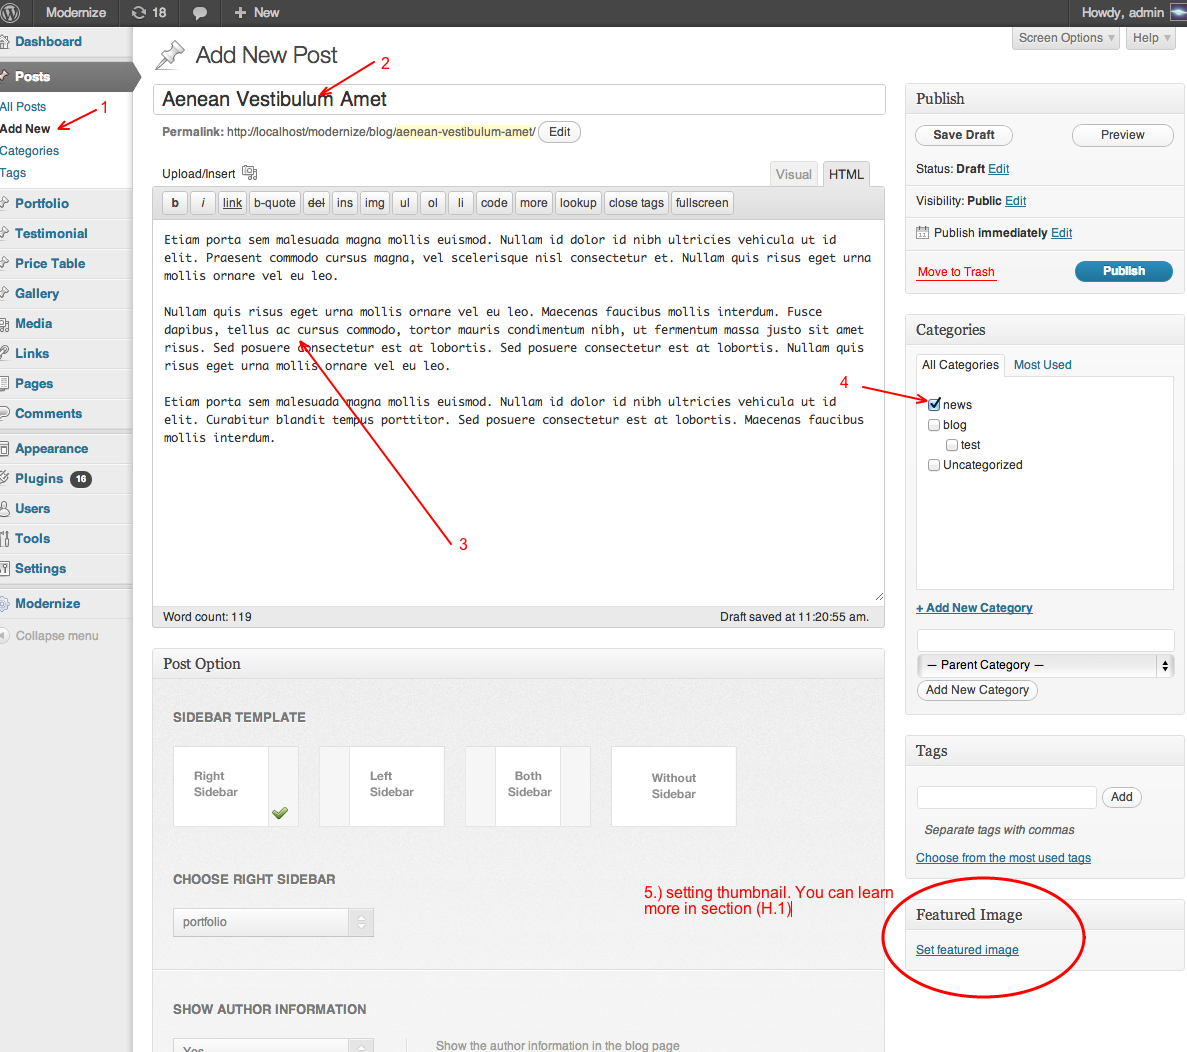
G1.) Post (Blog) (top)
1.) To create blog,
go to 'Posts > Add New' and fill your contents.
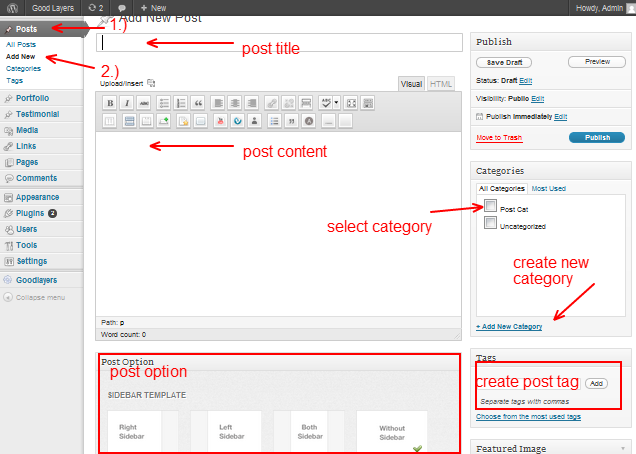
2.) You can choose to display the item in
blog at the 'Post Options'.
3.) You can learn more about the post thumbnail(in post options) at the Thumbnail Section
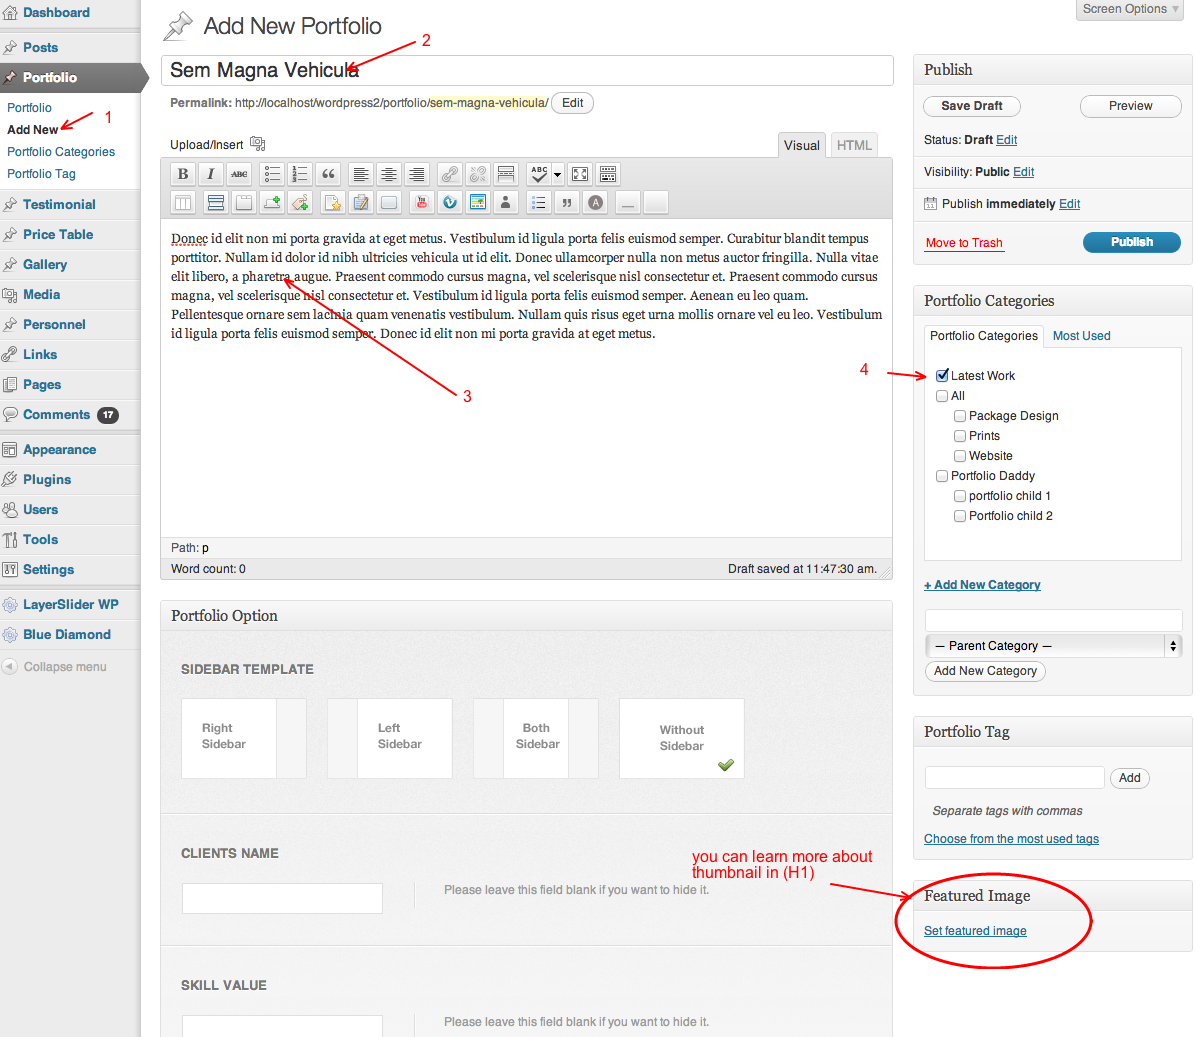
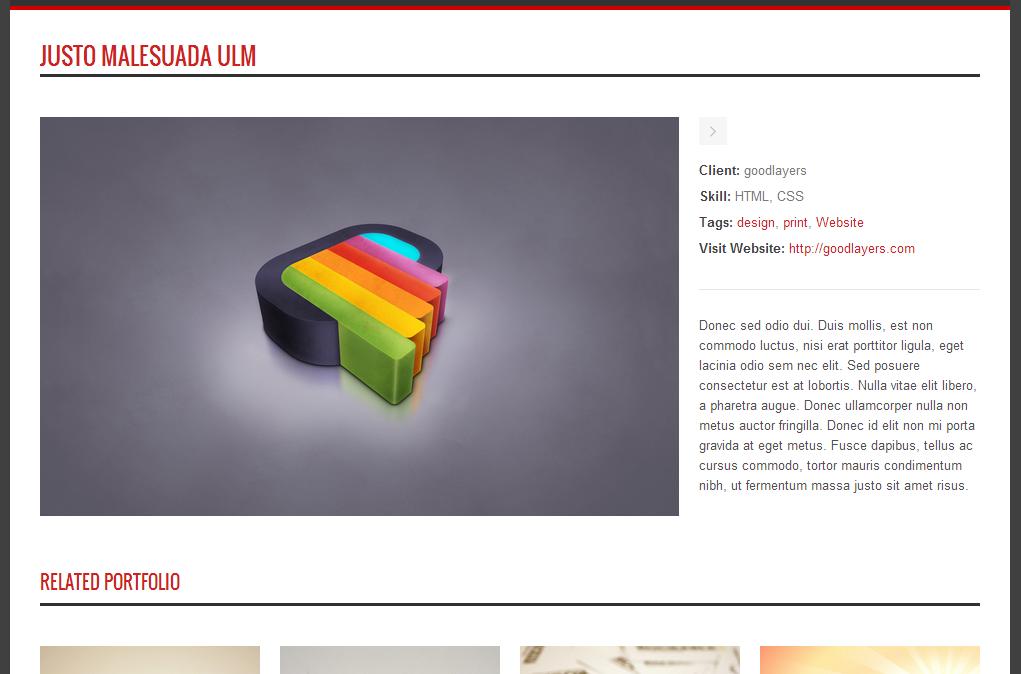
G2.) Portfolio (top)
1.) To create portfolio,
go to 'Portfolio > Add New' and fill your contents.
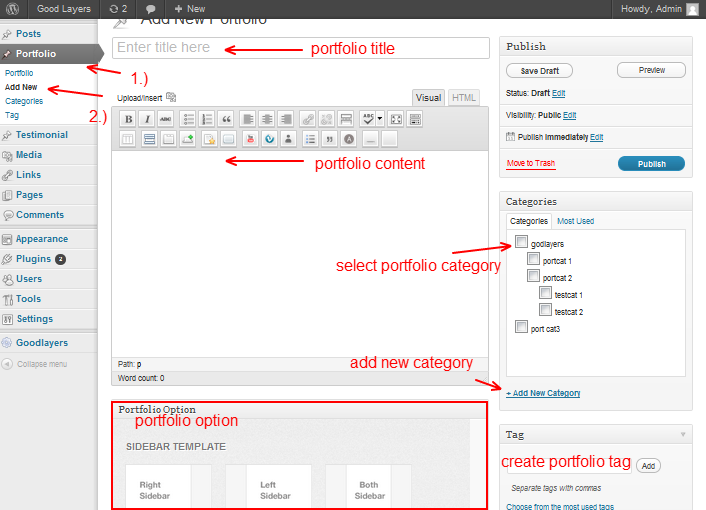
2.) You can choose to display the item in
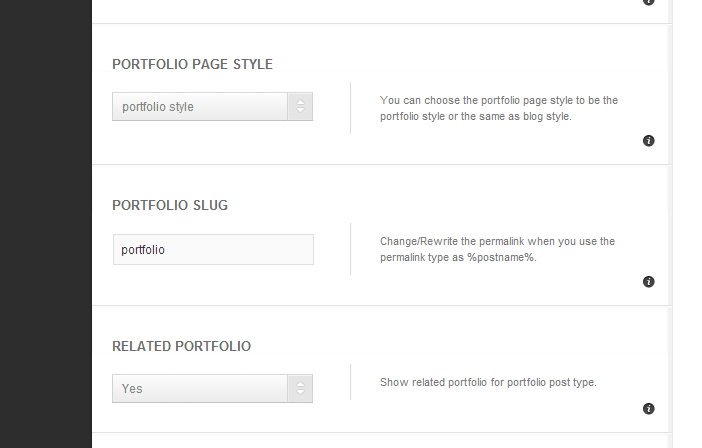
portfolio at the 'Portfolio Options'.
3.) You also can change the style of portfolio to be the same as blog by going to
'World Wide admin panel > General > Blog / Port Style' and select use portfolio as blog style.
4.) You can learn more about the portfolio thumbnail( in portfolio options )
at Thumbnail Section
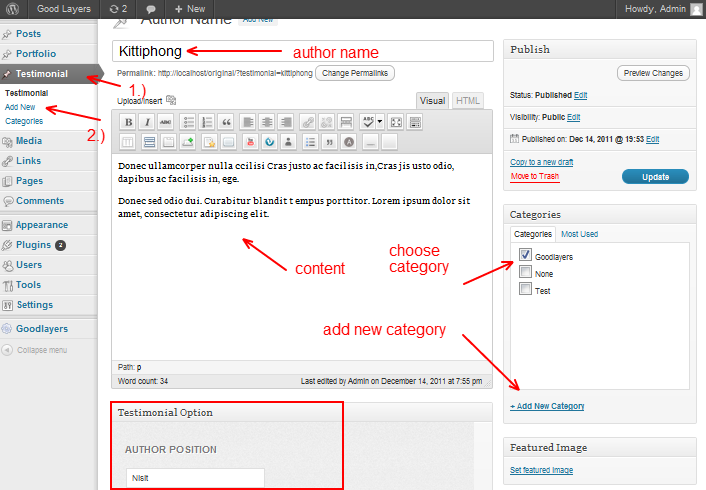
G3.) Testimonial (top)
Testimonial is the post type that does not have its own page,
you can create it using testimonial page item in page options
1.) To create each testimonial content,
go to 'Testimonial > Add New' and fill your contents.
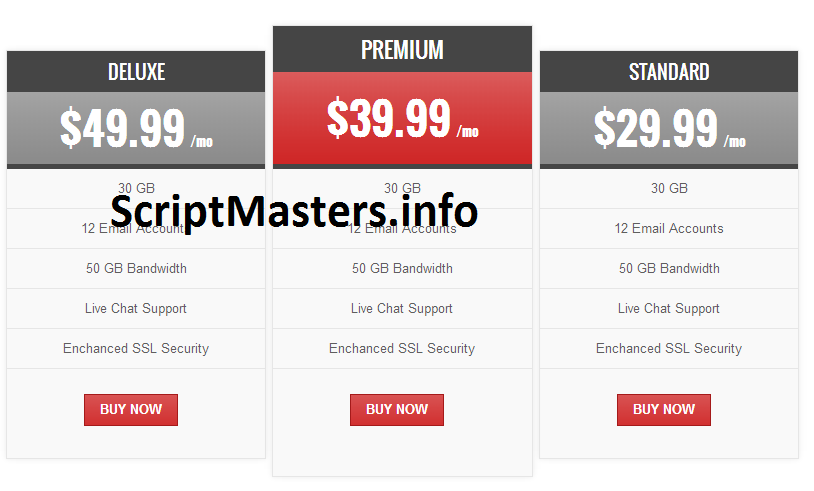
G4.) Price Table (top)
Price table is also the post type that does not have its own page,
you have to create it using price item in page options
1.) To create each price table content,
go to 'Price Table > Add New' and fill your contents.
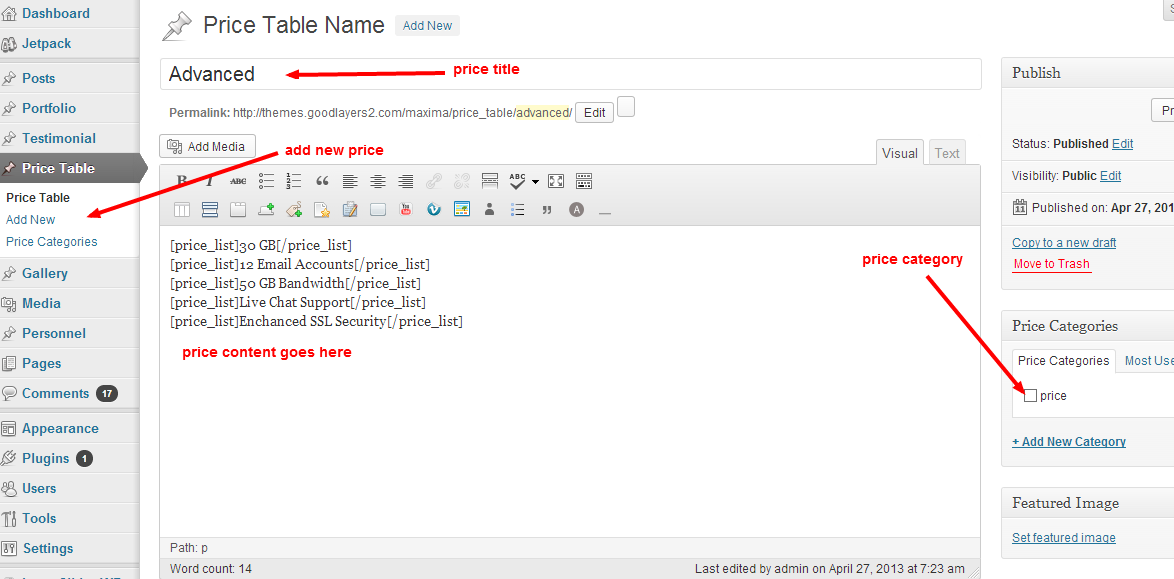
2.) Try placing this to the price content to create the price list like the demo site
http://themes.goodlayers2.com/World Wide/price-table/
[price_list]30 GB[/price_list]
[price_list]12 Email Accounts[/price_list]
[price_list]50 GB Bandwidth[/price_list]
[price_list]Live Chat Support[/price_list]
[price_list]Enchanced SSL Security[/price_list]
3.) for normal content, try this shortcode instead.
[price_content]PLACE_YOUR_CONTENT_HERE[/price_content]
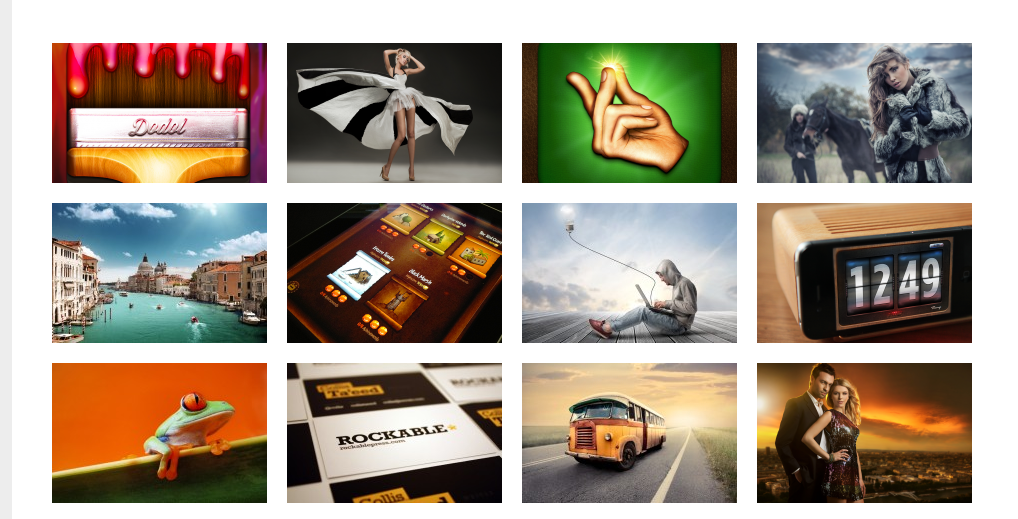
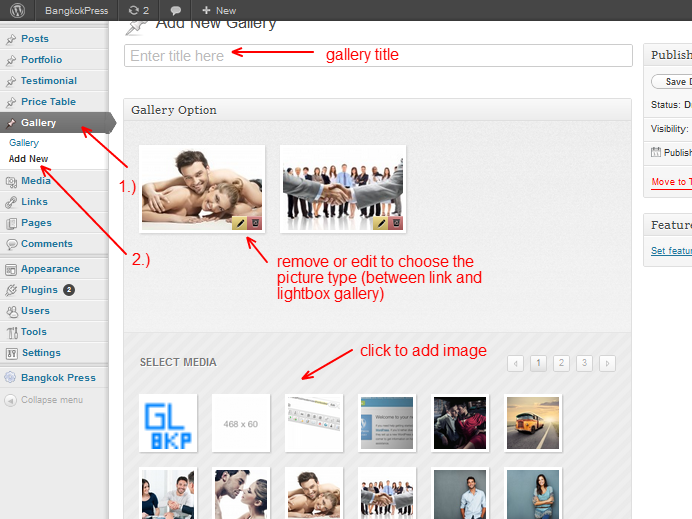
G5.) Gallery (top)
Gallery is another the post type that does not have its own page,
you have to create it using gallery item in page options
1.) To create gallery content,
go to 'Gallery > Add New' and fill your contents.
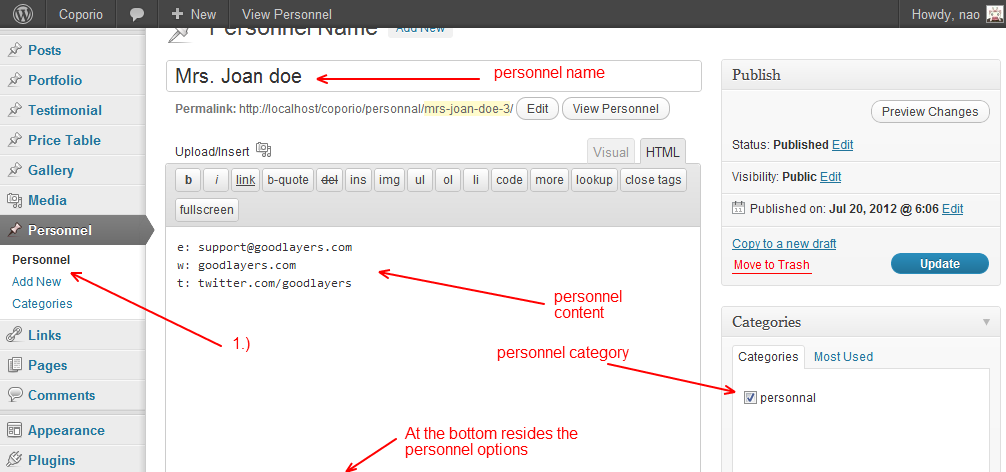
G6.) Personnel (top)
Personnel is the other the post type that does not have its own page,
you have to create it using personnel item in page options
1.) To create personnel post,
go to 'Personnel > Add New' and fill your contents.
H.) Thumbnail Management (top)
Thumbnail is divided in to 2 types.
1.) Thumbnail inside post type. This thumbnail is used in each post type. Ex.
post,
portfolio
2.) Thumbnail outside post type ( Refers as Post/Page/Portfolio Thumbnail ).
This thumbnail is used in page. Ex.
post,
portfolio
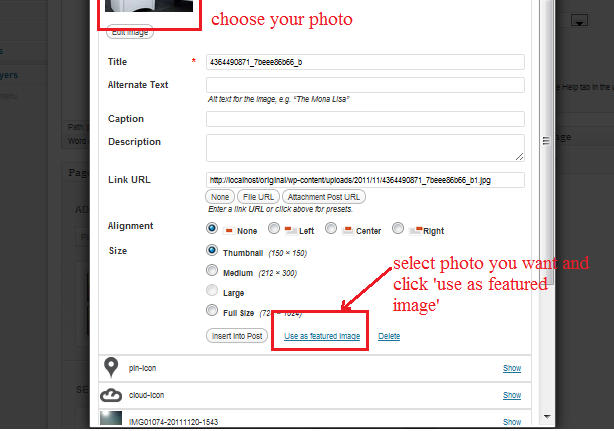
H1.) Feature Image (top)
1.) To set feature image, you have to be in 'edit page/post/portfolio'.
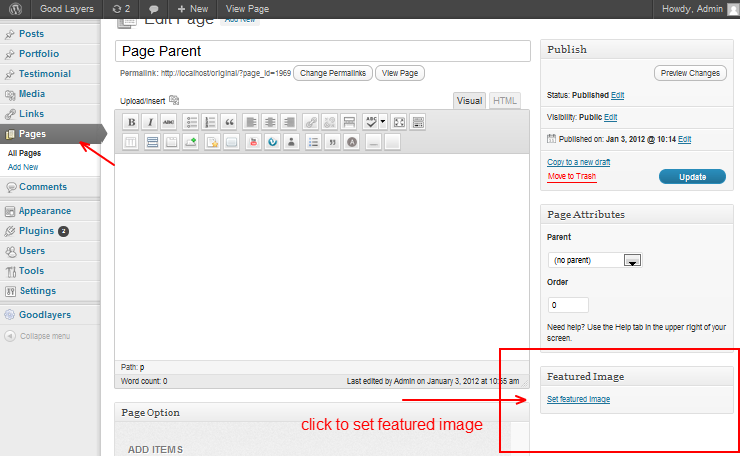
2.) Upload image you want to set or choose your image from media library and click
'Use as feature image'. Then close and update the page.
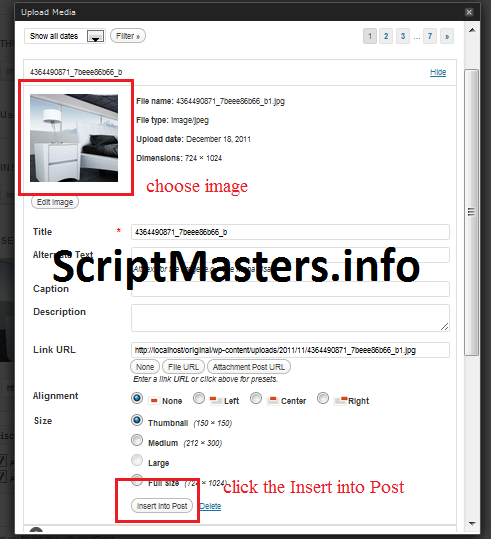
H2.) Image (top)
1.) To add images to meta box, click the upload button.
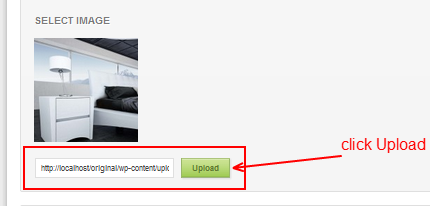
2.) Upload image you want to set or choose your image from media library and click
'Insert into Post'. Then close and update the page.
*** Please make sure that you don't leave the LINK URL field blank ***
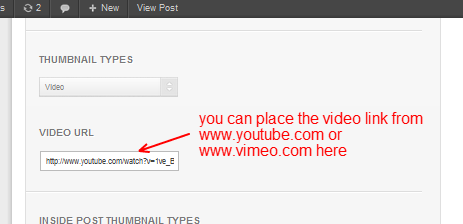
H3.) Video (top)
1.) You can add video link to any video meta boxes. Currently we support video from
www.vimeo.com and www.youtube.com.
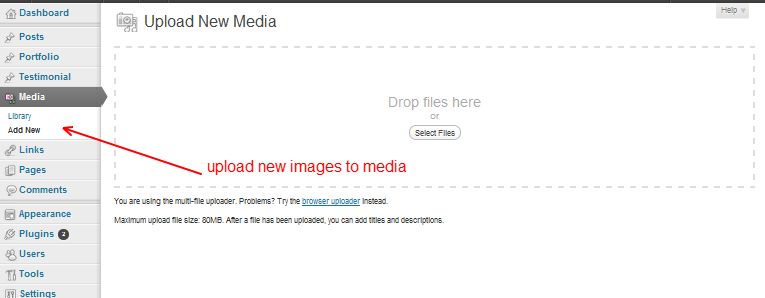
H4.) Slider (top)
1.) Before you can use slider, you have to have images in media library. To add images,
goto 'Media > Add New' and upload images from your computer.
2.) If you are editing the page, you can select slider type and slider width and height.
If you are editing the post or portfolio server will autometically choose the slider type
(flex slider), slider width and height for you.
3.) You will face the following screen when you create the slider. the select media
panel will show you all images in media library. Click the image in 'Select Media'
to add image to slider
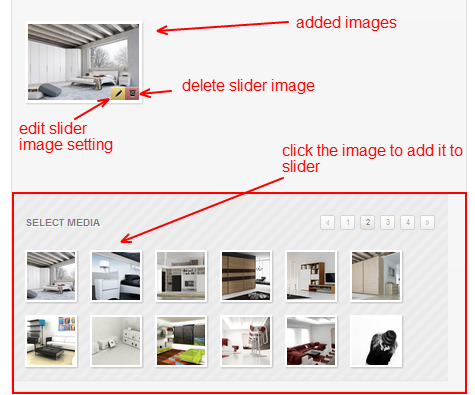
4.) Click edit image setting and you will see the popup options.
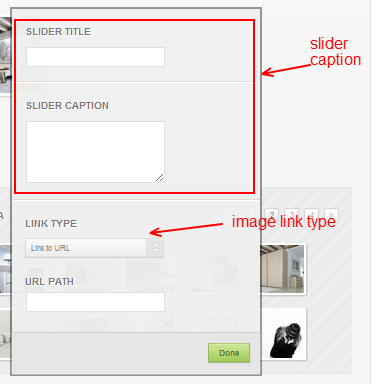
5.) If you choose link type = 'Link to Video', Anything slider will ignores the image you
select and show the video instead, while other sliders will treat it as a lightbox to video.
6.) After you finish editing. Click done and save the page.
H5.) Self Hosted Video (top)
You need to install the JW Player plugin before adding the self hosted video in your site.
*** http://www.longtailvideo.com/***
Please also update the plugin to latest version too.
1.) Going to JW Player > Create Custom Player.
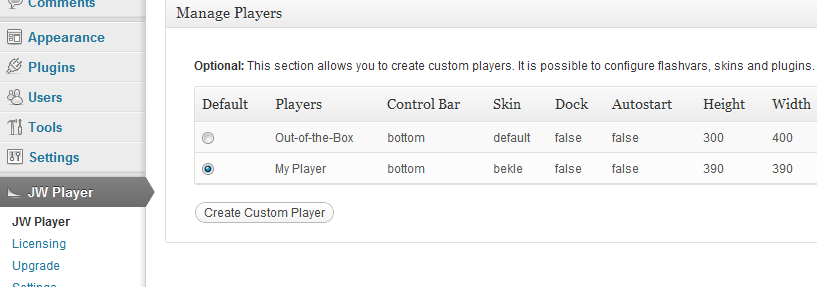
2.) Assign the width and height of the custom player to match with the theme thumbnail ( In next section )
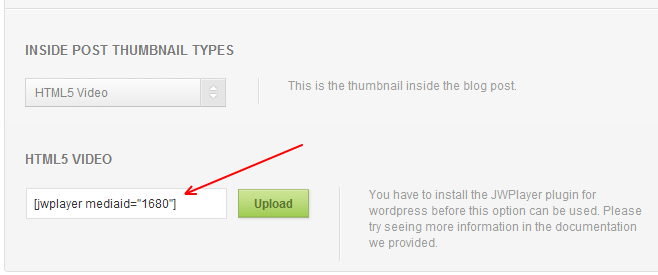
3.) In post / portfolio option, you'll see an option to insert the self hosted video.
( Click the Insert JW Player instead of Insert to Post )
4.) For embeded normal video into the content section, try using the normal function of JW Player instead.
H6.) Editing The Thumbnail Size (top)
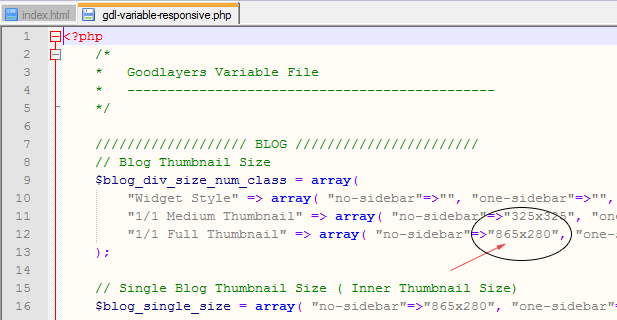
1.) Going to gdl-vairable.php file.
2.) You'll see many arrays in this file. Try searching for the item you want ( Blog / Portfolio / Gallery ... )
3.) For example, if you use the blog medium thumbnail without sidebar, you have to change this value. ( WIDTHxHEIGHT )
I1.) Elements Color (top)
1.) Go to 'World Wide admin panel > Elements Color'.
2.) Choose color for each element.
3.) Save option.
To change the color on live preview *** Only for wordpress version 3.4 ***
1.) Go to 'Appearance > Theme' and click Customize
2.) Don't forget to save the option after you finish making changes.
I2.) Translator (top)
You can translate this theme in 2 ways
Translate using goodlayers panel
1.) Go to 'World Wide admin panel > Translator'.
2.) Change each word to what you want. Inside the parentheses is the page which
contains that word.
*** We provide only some specific words in our admin panel,
if the word you want is not there, please try using another method instead ***
Translate using wordpress localization (.mo)
1.) Going to 'World Wide admin panel > Translator > Enable admin translator
2.) Turning the admin translator off
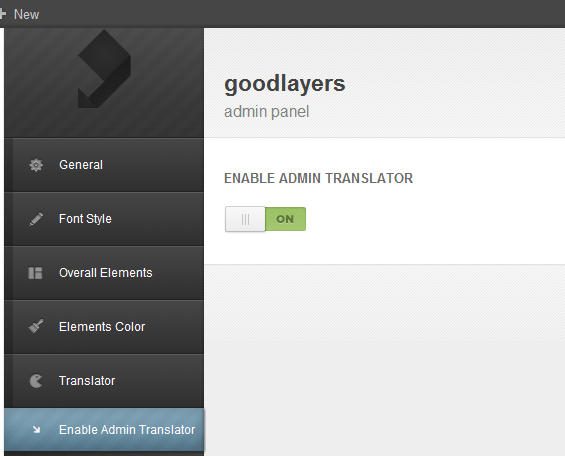
3.) Seeing how to translate the theme here
http://codex.wordpress.org/WordPress_in_Your_Language
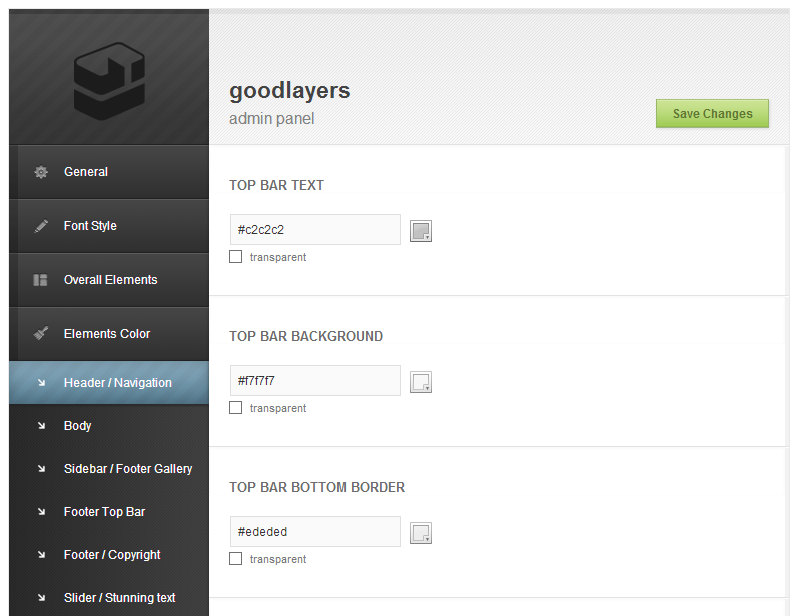
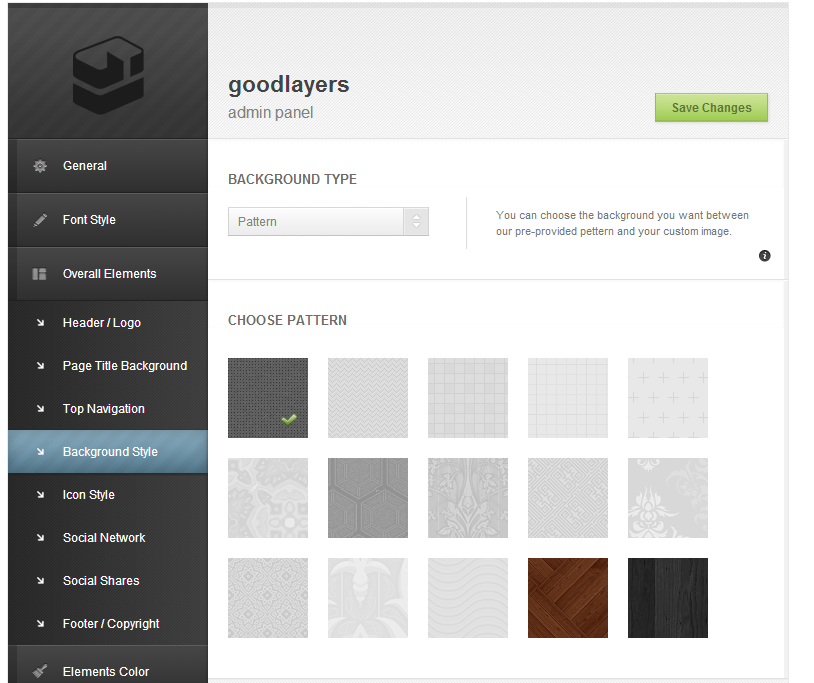
I3.) Background (top)
We provide 15 background patterns for your alternative.
1.) Go to 'World Wide admin panel > Overall Elements > Background Style'. If you want
your own image as a background, you can choose the Background Type as custom image.
Also the default page header background can be set at the Admin Panel > Overall Elements > Page Title Background
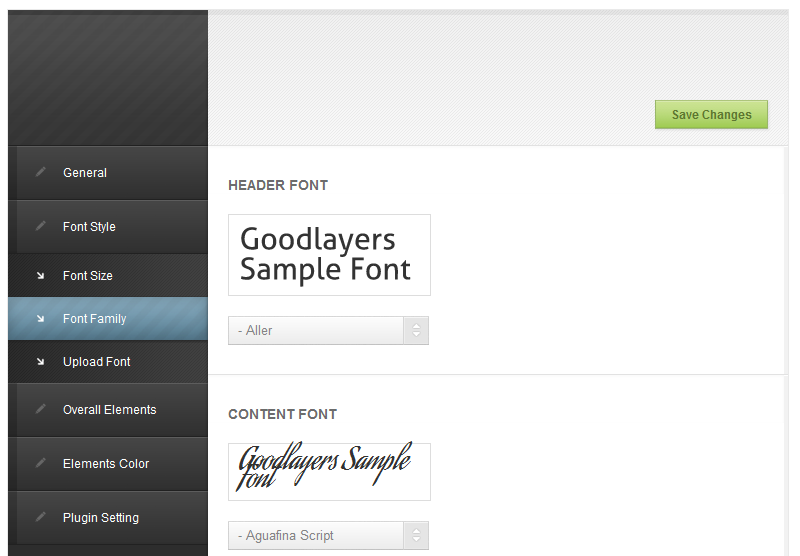
I4.) Fonts (top)
We provide 15 cufon + over 300 google fonts(@Fontface) for your alternative.
1.) Go to 'World Wide admin panel > Font Style', You can choose any font size and
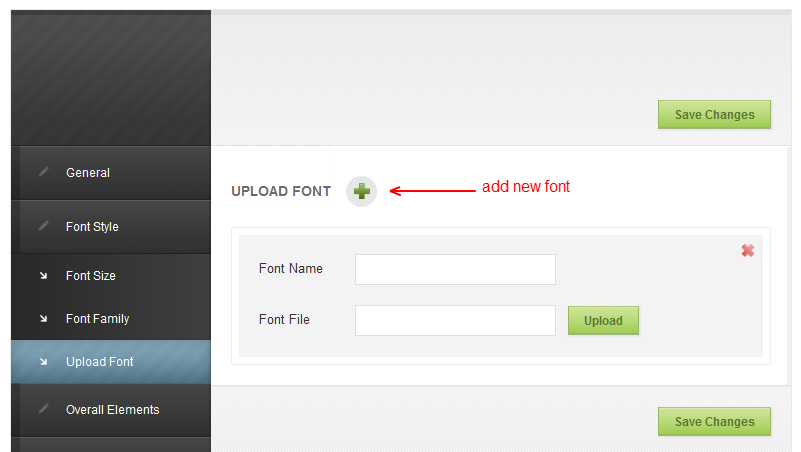
font family you want. Moreover you can upload your own cufon font at the 'Upload Font' section
The uploaded cufon font must NOT have duplicated name with provided font. Otherwise,
you have to change the font_family name in js file before upload to the server.
2.) To upload new cufon font, click 'Upload Font' section and click 'add new font' button.
Then choose the cufon file( .js type ), server will automatically generate the font name
for you. Click save and feel free to use it.
I5.) Responsive Option (top)
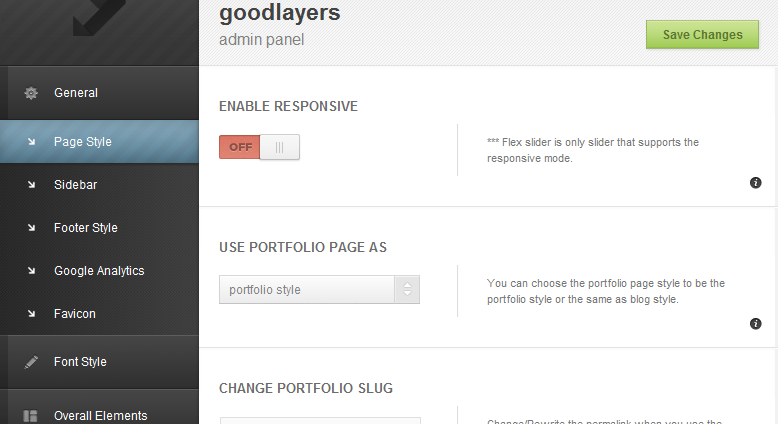
1.) The normal option of responsive is set to disable. You can enable it by going to 'Admin Panel >
General > Page Style' and select the enable responsive to on
J.) Shortcodes (top)
We provide shortcode button for easier use at the text editor.
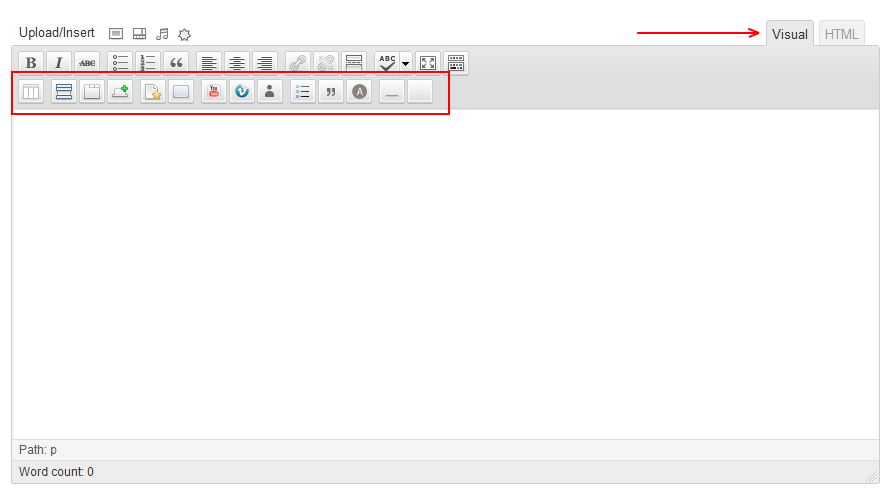
You can see shortcode list online here
http://themes.goodlayers2.com/World Wide/shortcodes
J1.) Top Bar Right Text Snippet (top)
[gdl_icon type="icon-phone" color="ffffff"] 1800-2234-5367


[gdl_icon type="icon-envelope-alt" color="ffffff"] contact@worldwide.co.uk
2.) Contact Page Sidebar Snippet (top)
Place This in text widget
Tokyo 552 Minato St. Shibuya Tokyo Call : +00-000-0000 Email : contact@yourdomain.comLondon 11/234 Main Street. Kingstown London Call : +00-000-0000 Email : contact@yourdomain.com
K1.) How to disable comment (top)
1.) Go to your specified page (or post).
2.) Click 'Screen options' on the top. And check 'Discussion' box.
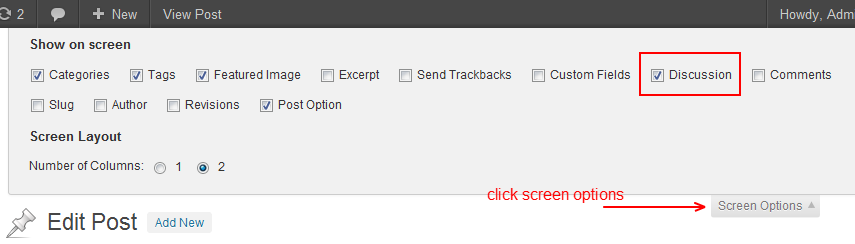
3.) Scroll down until you see 'Discussion' meta box. Uncheck allow comment
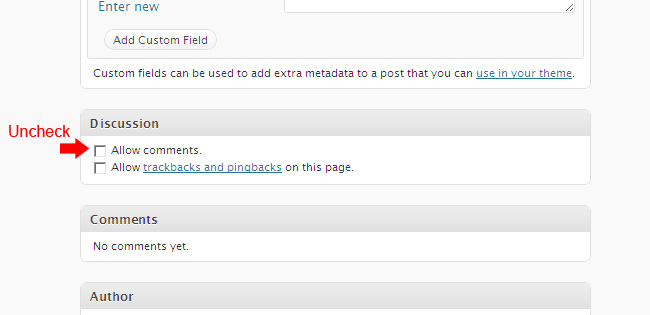
4.) Save.
K3.) Blog lose formatting (top)
Try going to setting > reading and leave the post page field blank.
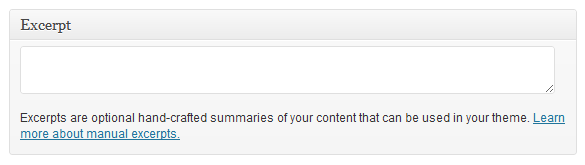
K4.) Enable Manual Excerpt (top)
1.) When you edit the post or portfolio, at the top right of the screen, you'll see the screen option.
2.) Selecting the excerpt option.
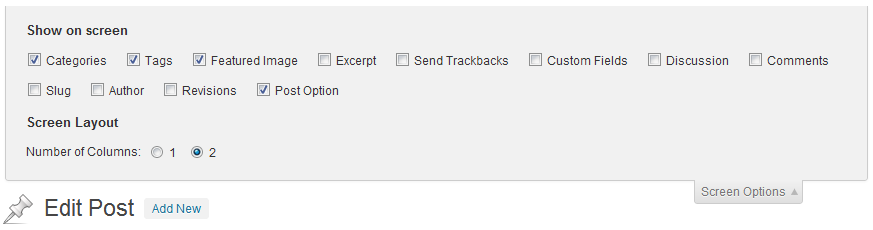
3.) Placing your excerpt at the excerpt box at the bottom of the page.
L.) Restrictions (top)
1.) If the pagination does not work for portfolio, please try checking that the portfolio slug
( at admin panel > general > post/portfolio style ), does not have the same name with page name.
2.) The uploaded cufon font must NOT have duplicated name with provided font. Otherwise,
you have to change the font_family name in js file before upload to the server.
M1.) Installing Theme (top)
M2.) Setting up homepage like demo site (top)
M3.) Creating Blog (top)
M4.) Creating Portfolio / Filter Portfolio (top)
M5.) Creating Gallery (top)
M6.) Page Builder (top)
M7.) Thumbnail Management (top)